Restoring an Exo Employer Services database
To be able to work on a customer’s migration data in MYOB Adapt, you need to install MYOB Exo Employer Services (ES) and restore your customer’s database your it. This makes it easy to compare data between MYOB Exo ES, MYOB Adapt and MYOB Acumatica.
Your customer will also need to do some setup in their MYOB Exo ES software.
Install MYOB Exo ES
To be able to install MYOB Exo ES, you need to have local administrator rights.
If you already have MYOB Exo ES installed, you don’t need to re-install it. Skip to What you need from your customer.
Download the MYOB Exo ES installer. If your customer is in:
Australia, download ES Australia.
New Zealand, download ES New Zealand.
In your computer’s C drive, create an installation folder. If your customer is in:
Australia, call the folder PayrollvAU.
New Zealand, call the folder Payrollv.
Run the installer file and follow the on-screen instructions.
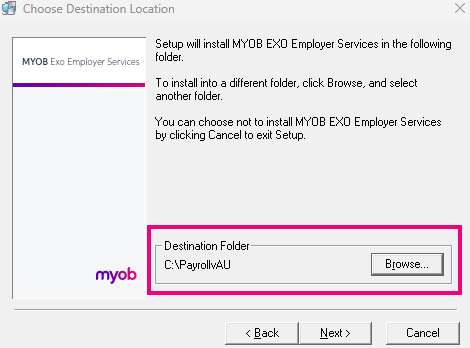
On the Choose Destination Folder screen, click Browse and choose the folder you created in step 2.

Once the installation is complete, click Finish.
What you need from your customer
Before you can add your customer’s database to MYOB Exo ES, they need to:
Create an admin user in their MYOB Exo ES software and give you the sign-in credentials (user code and password). You’ll need this to sign in to their MYOB Exo ES database.
Back up their database and give you a copy of the backup. Make sure you get two backup files, one with an .L1 extension and the other with a .Z1 extension.
Restore your customer’s database to MYOB Exo ES
After your customer has created an admin user for you and given you a backup of their database, you’re ready to add their database to MYOB Exo ES on your computer.
In the folder where MYOB Exo ES is installed, create a folder called Backup.
Copy both your customer’s backup files into the Backup folder. Make sure these are the only files in the folder.
Run MYOB Exo ES. One way to run it is by double-clicking Comacc.exe in the installation folder.
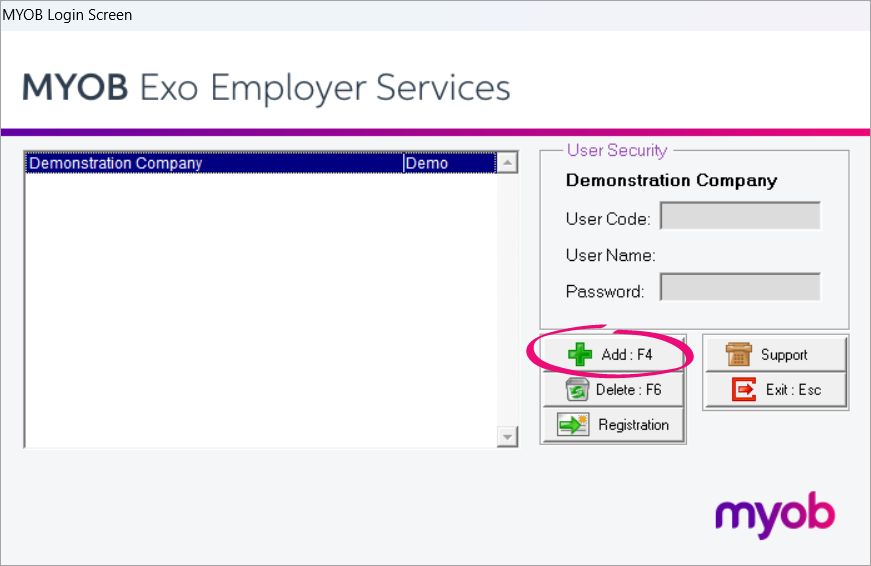
On the MYOB Exo ES login screen, click Add.

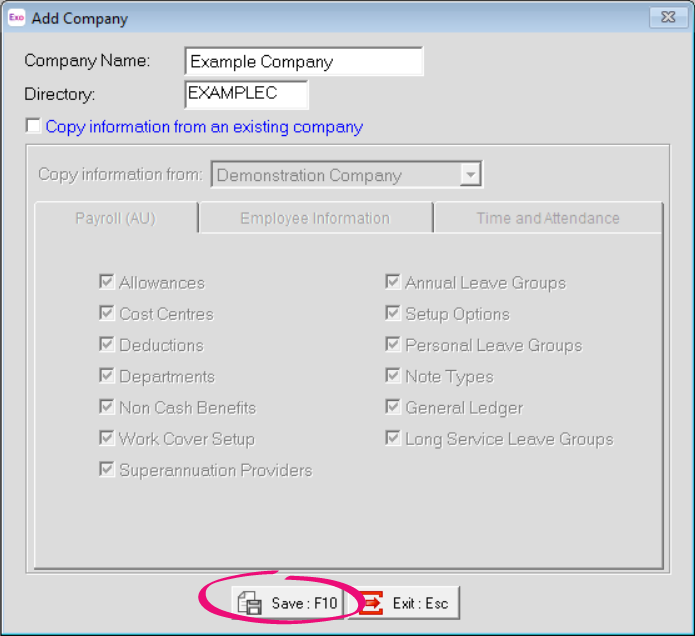
On the Add Company screen, enter your customer’s Company Name. The Directory field is automatically completed.
Click Save. MYOB Exo ES adds your customer’s company data using the files in the Backup folder.

If your customer has multiple companies, repeat steps 4–6 for each company.
What’s next
After adding your customer’s database to MYOB Exo ES, you can log in using the admin user code and password they gave you.
You’re also ready to set up the migration in the MYOB Adapt online portal.
