After setting up an MYOB Acumatica site for your customer's data to be migrated into, you need to set up the migration in the MYOB Adapt online portal. The online portal is your headquarters for all migrations. It's where you download the tools needed for MYOB Adapt migrations, control who has permission to work on migrations, and keep track of migration progress.
For every product that a customer wants to migrate from, it's best to add both a test migration and a live migration.
Need a login for the online portal? See Getting started .
Add a customer to the online portal
-
Log in to the MYOB Adapt online portal.
-
On the left of the page, click Customers.
-
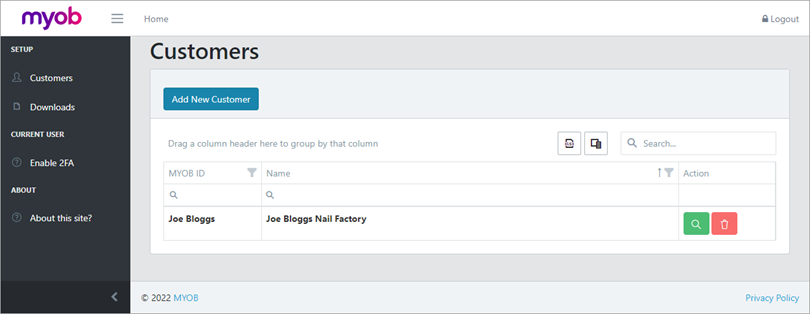
On the Customers page, click Add New Customer.

-
On the Create Customer page, enter a Customer Name.
-
Click Save. The customer is added to the Customers screen.
Add a migration to a customer
-
Log in to the MYOB Adapt online portal.
-
On the left of the page, click Customers.
-
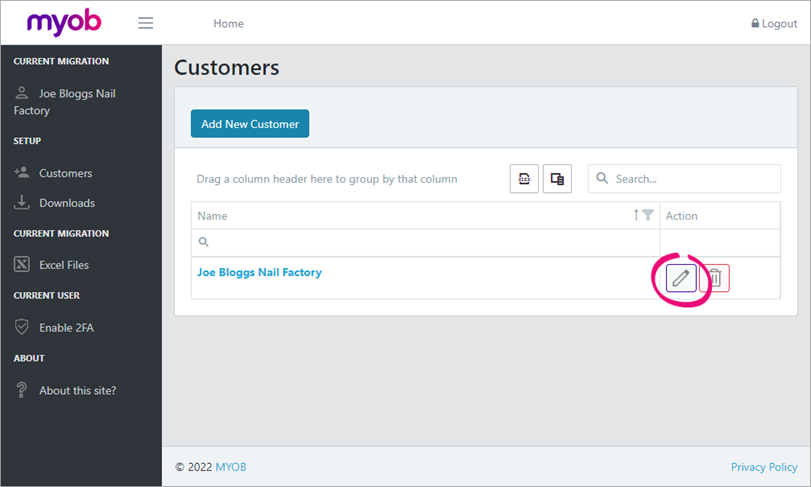
Select the customer you want to add a migration to by clicking the the Edit icon.
-
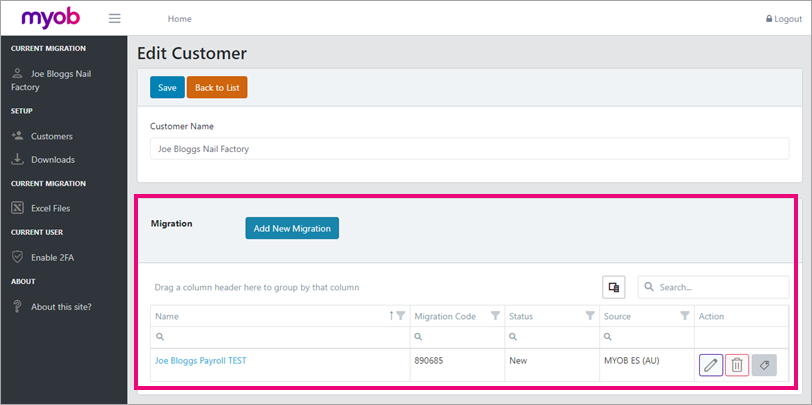
On the Edit Customer page, click Add New Migration.

-
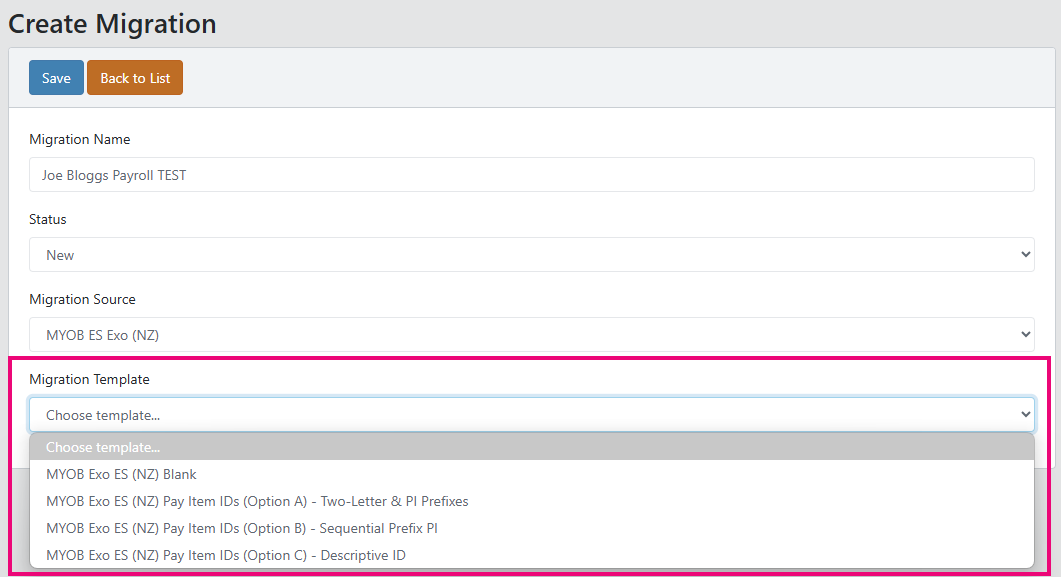
In the Migration Name field, enter a name for the migration.
When reviewing and editing migration data in a later step, you'll choose which migration to work on based on the name. So, it's best to use a recognisable name for each migration.
-
From the Status dropdown, choose New.
-
From the Migration Source dropdown, choose the desktop product that the customer is migrating from.
-
For payroll migrations, you can select how pay item IDs are numbered and named by selecting a Migration Template.
-
Click Save. The migration is added to the Migrations section of the Edit Customer page.
Allow users to work on a migration
When you add a user to a customer, the user is allowed to view the customer's migrations in the online portal. They can also review, edit and upload data for that migration in MYOB Adapt Desktop.
All users who'll work on a migration need a login for the online portal. For details on adding
To add a user to a customer:
-
Log in to the MYOB Adapt online portal.
-
On the left of the page, click Customers.
-
Select the customer you want to add a user to by clicking the the Edit icon.
-
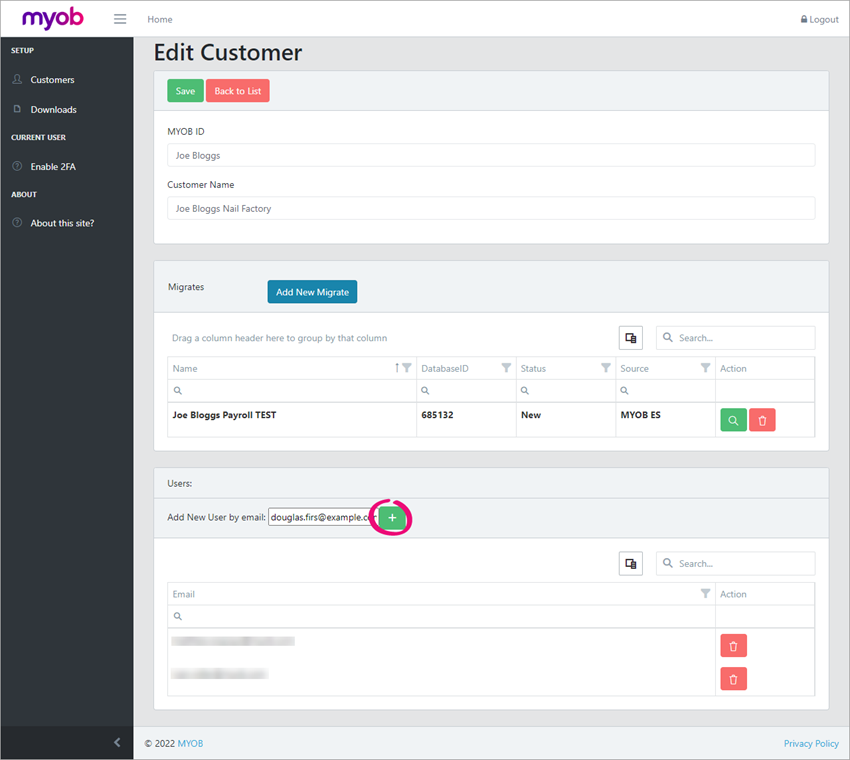
In the Users section, enter the email of the user you want to add in the Add New User by email field.
-
Click the Add User icon.
-
At the top of the Edit Customer page, click Save. The user whose email you added now has access to the migration in the online portal and MYOB Adapt Desktop.
Add MYOB Advanced site details to a migration
After adding a customer and their migration to the online portal, you need to add the details of the MYOB Acumatica site where their data will be migrated.
-
Log in to the MYOB Adapt online portal.
-
On the left of the page, click Customers.
-
On the Customers page, click a customer whose site details you want to add.
-
In the Migration section, select which migration you want to add details to by clicking the Edit icon.
-
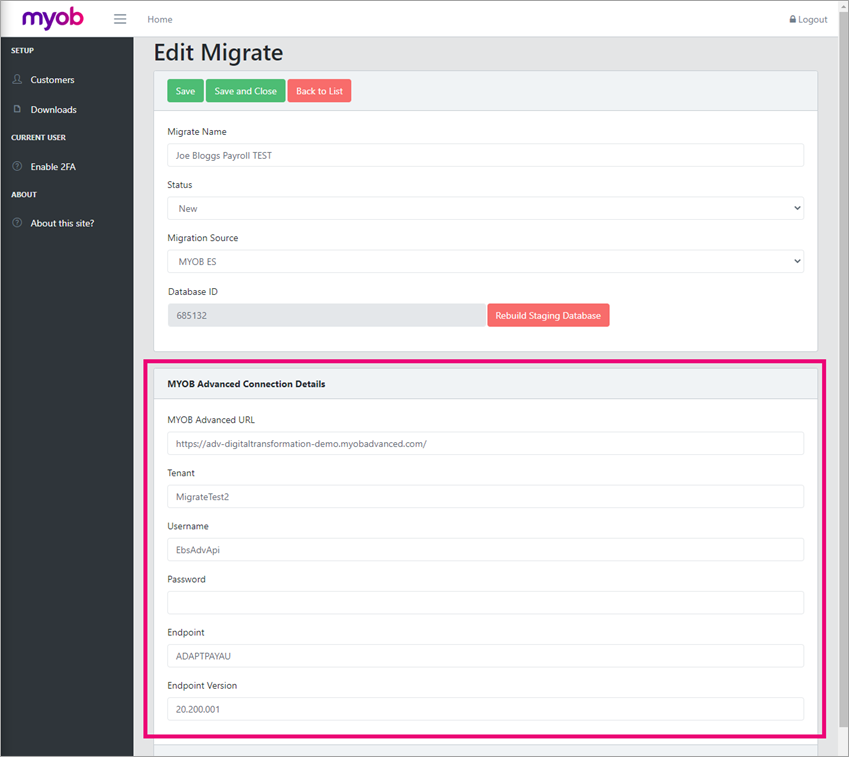
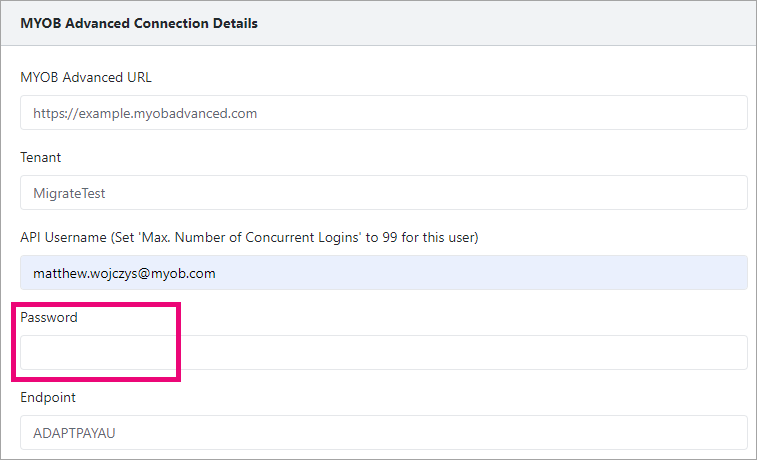
Complete the fields in the MYOB Acumatica Connection Details section:
-
MYOB Acumatica URL – The URL of the MYOB Acumatica site you set up for the customer's data to be migrated into. If you didn't set up the site, ask the person in your company who did.
-
Tenant – The tenant of the MYOB Acumatica site you set up for the customer's data to be migrated into. If you didn't set up the site, ask the person in your company who did.
-
API Username and Password – These must match the username and password of the API user that was created for the MYOB Acumatica site. If you didn't set up the site, ask for the password from the person in your company who did. Every site should have a unique username and password.
-
Endpoint – For ERP migrations, use the ADAPTERP endpoint. For payroll migrations, use the ADAPTPAYAU endpoint for both Australian and New Zealand migrations. Do not edit the default endpoints.
-
Endpoint Version – The version of the endpoint that was added to the MYOB Acumatica site.
Whenever you set up a new Advanced site for a migration, make sure you get the latest endpoint version from the Downloads page of the MYOB Adapt online portal.
-
-
If you're migrating a customer from:
-
MYOB Exo Employer Services, complete the Database Path field. You need to enter the Windows directory path for where your customer's instance of Exo Employer Services is saved. For example, C:\Payrollv\CompanyName.
-
MYOB Exo Business, you need the details of the Microsoft SQL server (MSSQL) installed on your computer that lets you access MYOB Exo Business. Enter these details in the fields in the MSSQL Database Config (If MYOB EXO) section.
For networked databases, you need to add them to a mapped drive.
-
-
At the top of the Edit Migrate page, click Save.
-
Make a note of the number in the Database ID field. This is a unique number that identifies a migration. When logging in to Adapt Desktop, you'll choose which migration to work on based on the database ID, or migration.
What's next?
Use the MYOB Adapt Uploader to extract your customer's migration data and upload it into the online portal.
Troubleshooting
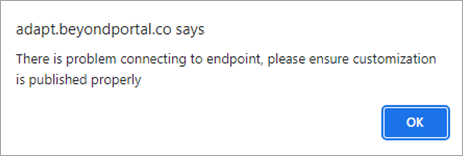
Error: "There is problem connecting to endpoint, please ensure customization is published properly"
Error There is problem connecting to endpoint, pleasure ensure customization is published properly
When adding an MYOB Acumatica site's details to the online portal, you might get an error: "There is problem connecting to endpoint, pleasure ensure customization is published properly".
Fix the error by re-publishing the MYOB Adapt customisation with cleanup
-
Log in to the MYOB Acumatica site.
-
Go to the Publish Customisation screen (SM204505).
-
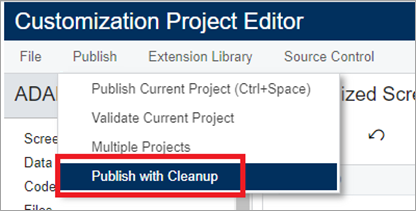
In the Project Name column, click ADAPTPAYAU. The Customization Project Editor opens.
-
Go to the Publish menu and choose Publish with Cleanup.
-
After the Publish with Cleanup process is finished, log in to the Adapt online portal.
-
Go to the Edit Migration screen.
-
In the Password field of the MYOB Acumatica Connection Details section, re-enter your MYOB Acumatica password.
-
At the top of the Edit Migration screen, click either Save or Save and Close.
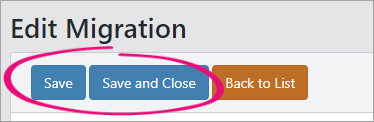
You'll see a message that the endpoint connection is now successful.
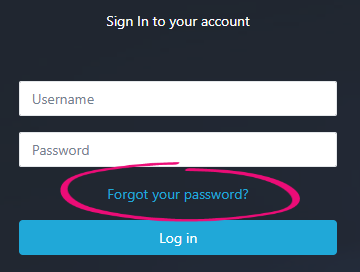
Resetting your MYOB Adapt password
You use the same password for the online portal, Adapt Desktop and Adapt Uploader. To reset your password, click Forgot your password? on the online portal login screen.
MYOB Adapt passwords must be at least 14 characters long, including at least one special character (e.g., ! @ # $ % ^ & *) and one number.