Enable Azure Active Directory in MYOB Acumatica
Do not use with MYOB Acumatica — Payroll versions earlier than 2023.1.1 On versions older than 2023.1.1, an issue prevents sites using Azure AD from completing pay runs. For more information, see MYOB Acumatica Known Issues, reference CE00037056.
After you have registered your Acumatica ERP instance with Microsoft Azure and obtained the necessary credentials, you can enable the integration with Microsoft Azure Active Directory (Azure AD) for your Acumatica ERP instance.
After publishing your Azure AD configuration in step 5, MYOB Acumatica will automatically restart after a few minutes.
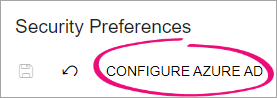
In MYOB Acumatica, go to the Security Preferences screen (SM201060).
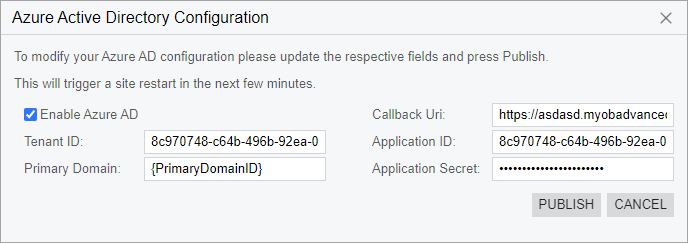
On the form toolbar, click Configure Azure AD. The Azure Active Directory Configuration window opens.
Select the Enable Azure AD checkbox.
Complete the fields with the details you created when configuring Azure AD:
To view these details in the Microsoft Azure portal, go to the App registrations screen and click the MYOB Advanced site you're integrating. The details are listed in the Essentials section.
Tenant ID – Copy the Directory (tenant) ID listed in the Microsoft Azure portal.
Primary Domain ID – Copy the Managed application in local directory URI listed in the Microsoft Azure portal.
Callback Uri – Enter https://, then copy the Managed application in local directory URI listed in the Microsoft Azure portal.
Application ID – Copy the Application (client) ID listed in the Microsoft Azure portal.
Application Secret – This is the client secret you created when configuring Microsoft Azure AD.'
Click Publish.
What's next?
After enabling Azure AD, you can map Azure AD groups to MYOB Acumatica roles.