These instructions explain how to create a new Leave Admin Role to manage leave requests for a select group of employees.
Step 1: Create an Employee query and select the employees visible to this Leave Admin Role.
From Employees grid, click View Queries tab.
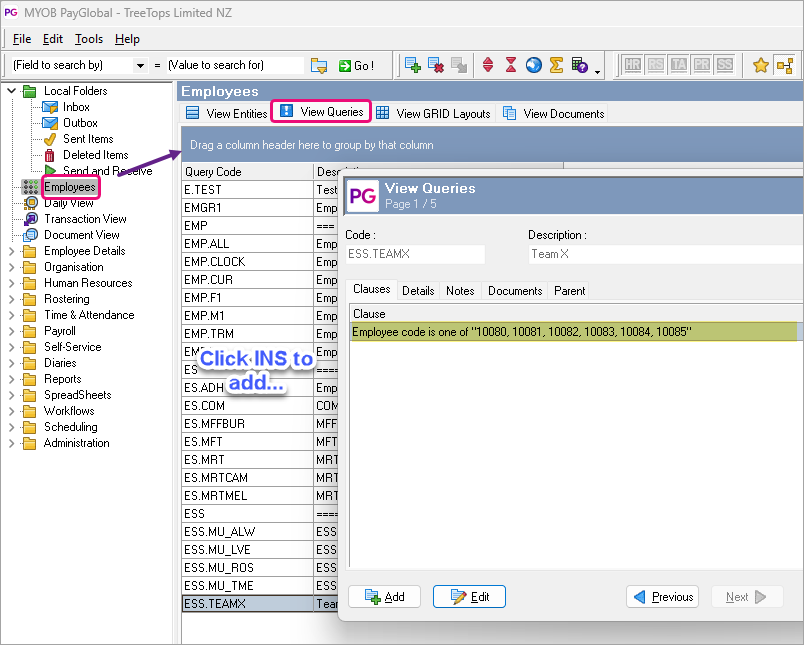
If you do not see an existing query for these employees, right-click or click INS on keyboard to add a record.
Enter a Code starting with “E.” and Description before clicking Save.
Note: The “E.” at the start of the code signifies it is an Employee table query. You can use anything you want to filter this query to the required employees. E.g. Department or even by individual employee codes.
The add a clause Employee code is one of… and select the employees.
Click Save when done.
Step 2: Setup Admin Roles
Login to ESS Administration Site.
Note: The following guide explains how to login to ESS Admin- https://enterprise-support.myob.com/payglobal/logging-into-ess-admin-5-4-2-2
Or if you prefer a video- https://enterprise-support.myob.com/payglobal/logging-into-ess-admin-website
Click Roles > Admin Assignment, then Add Admin Assignment.
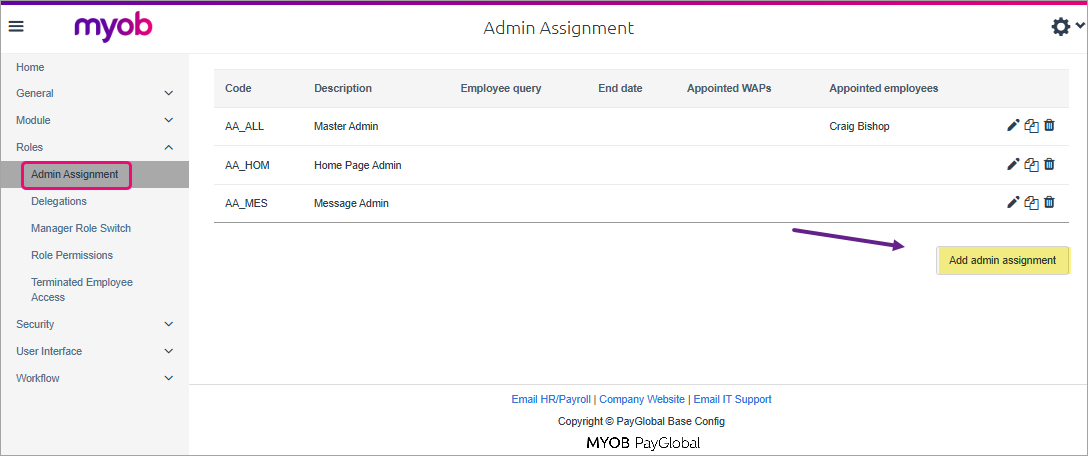
Add the Code and Description to distinguish it from other admin roles. Also add the Employee query that you created earlier. The Active item types field will be LeaveRequest.

Click Submit on the bottom right and then Save and apply at the top.

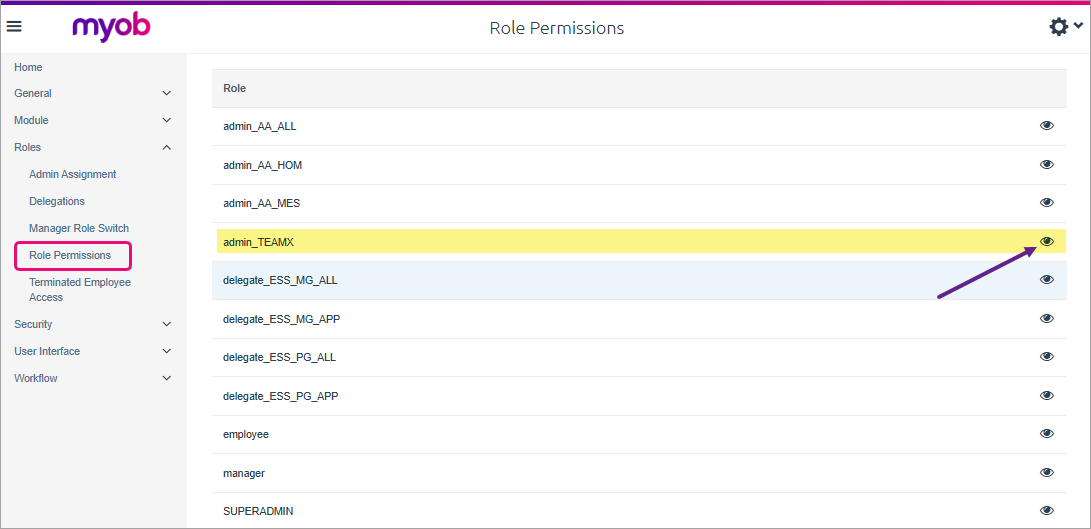
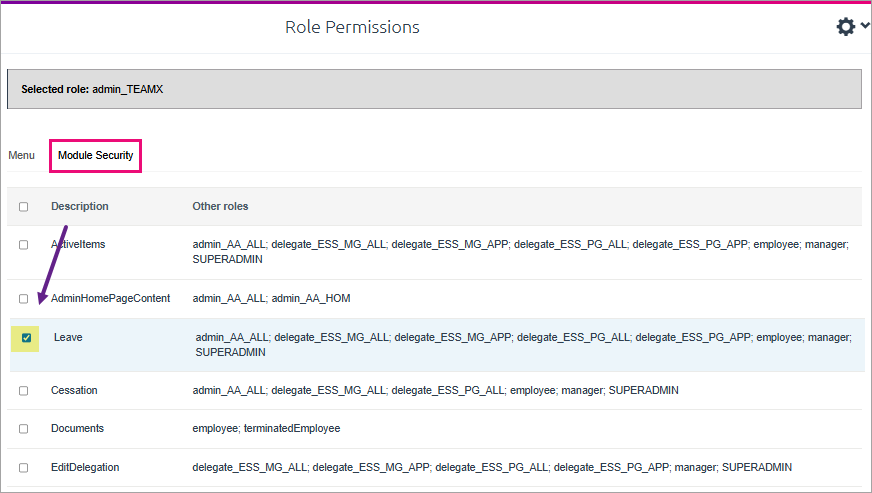
Next go to Roles > Role Permissions and double-click on the Admin role you just created or click (eye).
On the Menu tab, tick “Manager Options” and “Employee Leave” items.
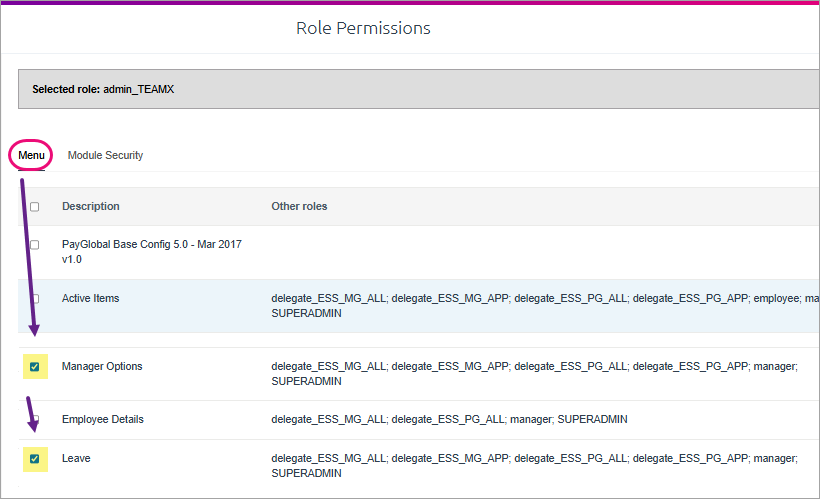
On the Module Security tab, tick “Leave”.
Click Submit on the bottom right and then Save and apply at the top.
All done. The manager should now be able login and switch to that role, go to Manager Options > Leave and see all required employees.