Getting Started with MYOB Exo Employee Information
Before you get underway with setting up MYOB Exo Employee Information we suggest that you take the time to familiarise yourself with the general structure and overview of the system.
We recommend working your way around the Demonstration Company that is installed with the package. This will help you learn how to navigate through the various windows and enhance your understanding of the information required to set up your company.
Start the software by double-clicking on the MYOB Exo Employer Services icon on your desktop or click the Windows Start button and choose the program from Programs > MYOB Exo Employer Services.
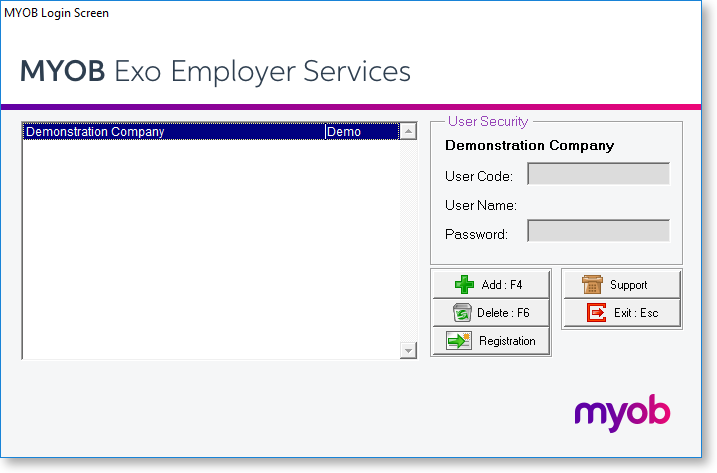
The first thing you will see is the MYOB Login Screen with the Demonstration Company in the list of payrolls. Exo Employee Information is a multi-company system (you can have unlimited additional companies). Once you add your own company, its name will appear in this list.

The Demonstration Company line will be highlighted. To open a company, either select a company and press enter or double-click on it. You must enter the logon details of a user account that has been set up in the Exo Employee Information system.
NOTE: The Demonstration Company has a default user called Admin. This user has the User Code "A" and the Password "Admin".
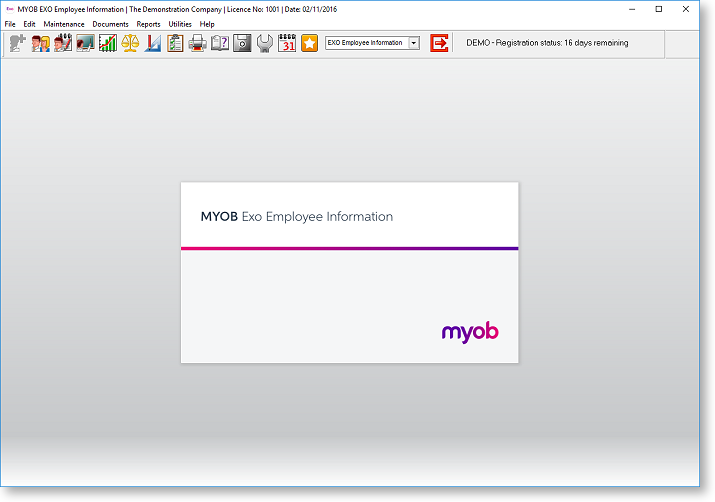
After logging in, you are presented with the main window:

The main window includes the following interface features:
All functions are available from the main menus.
Important functions can be accessed by clicking on the icons on the main Toolbar. Hovering the mouse pointer over these icons (without clicking) will display tool tips, which indicate what part of the payroll they access.
Keyboard shortcuts are available for common operations.
Once you are familiar with the interface, you can begin to perform the main functions of the Exo Employee Information system:
