All documents relating to an employee are displayed on the Documents tab of the Employee Maintenance window. All documents relating to a candidate are displayed on the Documents tab of the Candidate Maintenance window.
To add a new document to an employee or candidate's file, select an option from the Add dropdown button on this tab. The drop down has three options:
-
Click Attach File to create a new blank document using Exo Employee Information's built-in word processing interface.
-
Click Create Document to attach an existing document.
-
Click Create from Template to create a new document based on an existing document templates.
To add general documentation that is not specific to an individual record, use the Company Documents option on the Documents menu.
Attaching a File
You can attach any existing file to an employee record.
To attach an existing document to an employee record, select Attach File from the Add dropdown button. A standard Open window appears - browse to find the document, then click OK. You will then be prompted to enter details for the document:
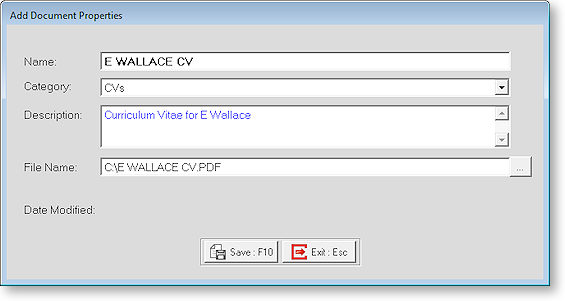
Enter the name and a description for the document (for later reference), and select a Category (you can enter a new category, or select an existing one from the dropdown). Click the Save button and the new document now appears on the Documents tab of the Employee Maintenance window. Double-clicking on an attached document opens it in the default editor for the document's type, e.g. a Word document will open in Microsoft Word. Right-clicking on a document and selecting Edit document properties lets you edit the document's Name, Category and/or Description.
Attached files are copied to the Database\employeefiles or Database\candidatefiles folder under the default Employer Services folder (usually Payrollv). A separate sub-folder exists for each employee/candidate; sub-folders are named after the employee or candidate's ID number.
NOTE: If an employee or candidate record is deleted, that record's folder and all of the associated documents are also deleted.
NOTE: Files attached to employees and candidates are included in company backups if the Include Employee Document option is ticked on the Backup Options window.
Creating a New Document
To create a new document, select Create Document from the Add dropdown button. A window opens where you can enter details for the new document:
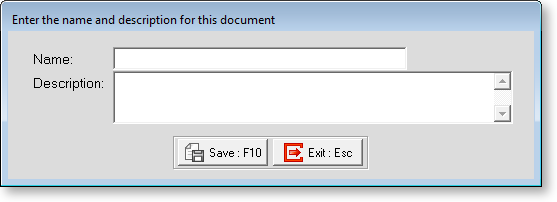
Enter the name and a description for the document (for later reference), and select a Category (you can enter a new category, or select an existing one from the dropdown). Click the Continue button and the word processing interface appears showing a blank document:
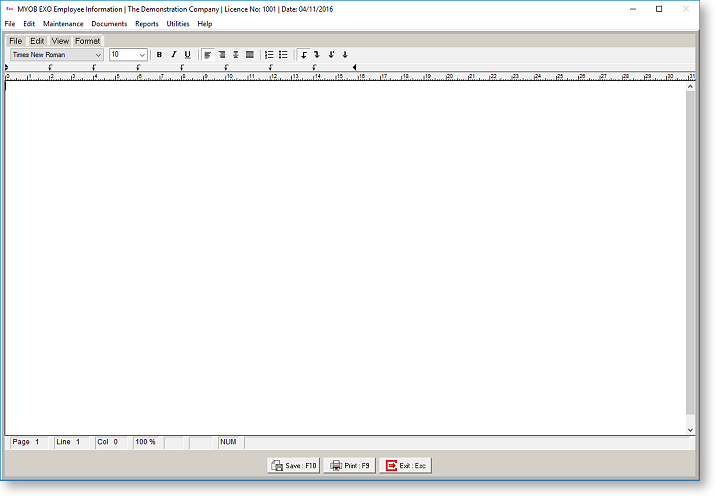
The word-processing interface in Exo Employee Information uses the RTF (Rich Text Format) standard. This means that plain text can be bolded, italicized, underlined and coloured, and text can be centred or right-aligned. The formatting functions are controlled by the toolbar buttons and the options in Format menu.
Once you have entered your document text, click the Save button.
Creating a Document from a Template
To create a new document, select Create from Template from the Add dropdown button. A window opens where you can select the template to use:
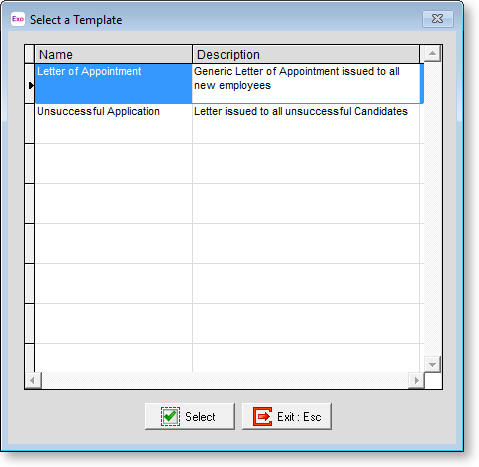
All available Document Templates are listed here. Select the template to base the document on and click Select. A window opens where you can enter details for the new document:

Enter the name and a description for the document (for later reference), and select a Category (you can enter a new category, or select an existing one from the dropdown). Click the Continue button and the word processing interface appears showing the default template text. Edit the document as normal and click the Save button once all edits have been made.