As a manager, you will have access to the Manage Leave screen. This is where you will manage all employee leave requests.
To go to the Manage Leave screen, from your dashboard click Leave.
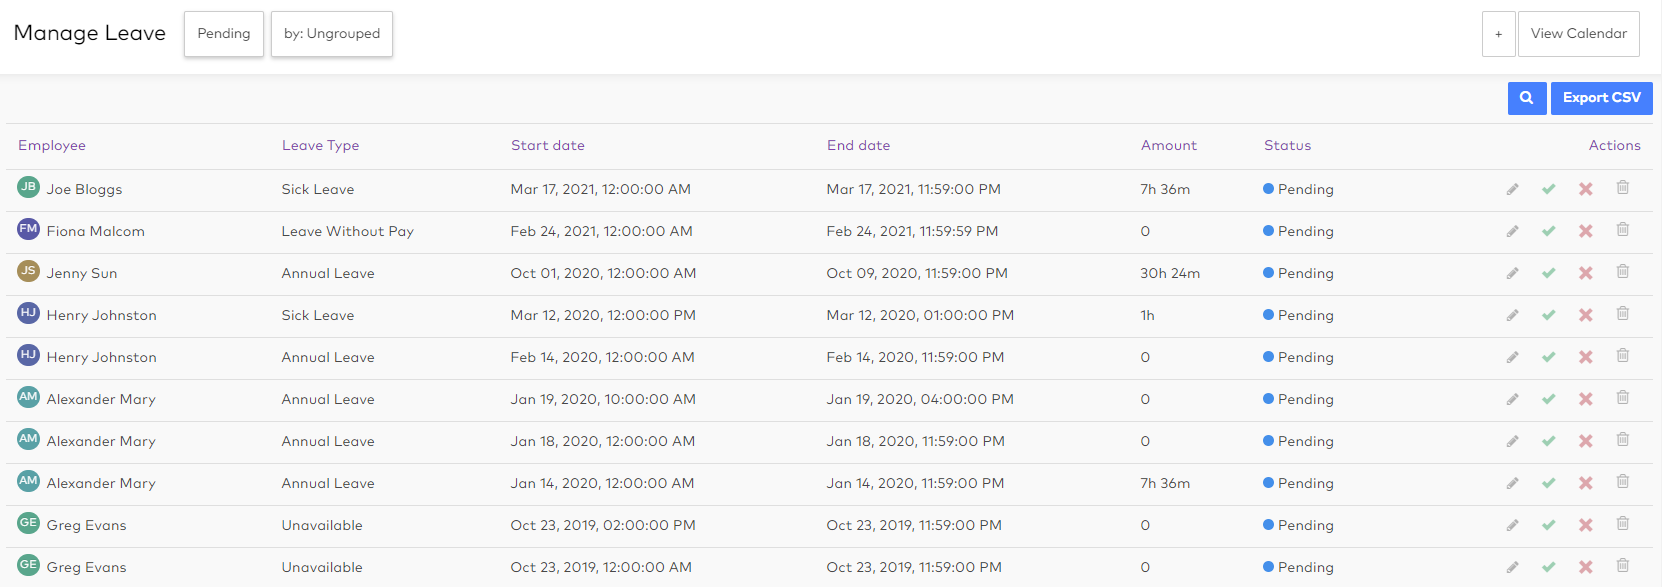
You can select a status (Pending, Approved and Declined) to filter the list of leave requests by.
By default all pending leave requests are displayed (past and future leave). If "Approved" or "Declined" is selected from the Status dropdown, a date picker will be displayed so you can choose a date range.
You can select how to view your leave requests: Ungrouped, grouped by Leave Type or grouped by Employee.
You can add a new leave request on an employees behalf by clicking the + button - see How do I lodge leave requests on an employee's behalf?
Click View Calendar to view the Leave Calendar page - see How do I view the leave calendar?
You can search for a particular employee.
Click Export CSV to export all leave requests as a CSV file - see Exporting leave requests.
The icons under Actions let you perform various actions on leave requests - see Reviewing and approving your team's leave requests
To view further details of a leave request, click on the request.
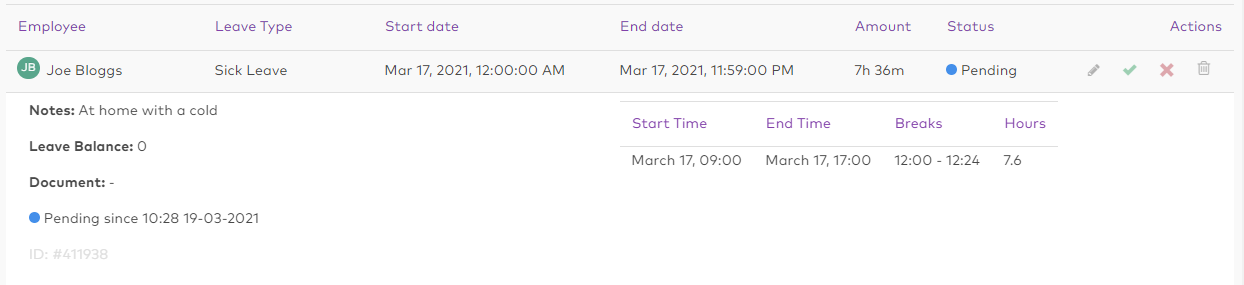
This displays:
-
A note from the employee submitted along with the leave request
-
The employee's Leave Balance
-
The manager that actioned the leave request
-
Dates/times of the employee's leave (generally pulled from a shift pattern)
-
The total number of hours required to cover the leave