This information is for payroll staff that have access to the PayGlobal application and are familiar with using it.
For employees with access to Employee Self Service access (ESS), we recommend moving your payslip process to the new Self Service SSRS Payslip.
It is a secure process where payslips are generated on demand by employees in ESS and not stored as documents.
The manual covers the correct settings to use to split a payslip report by employee code.
Update employee records
Check each employee record .
-
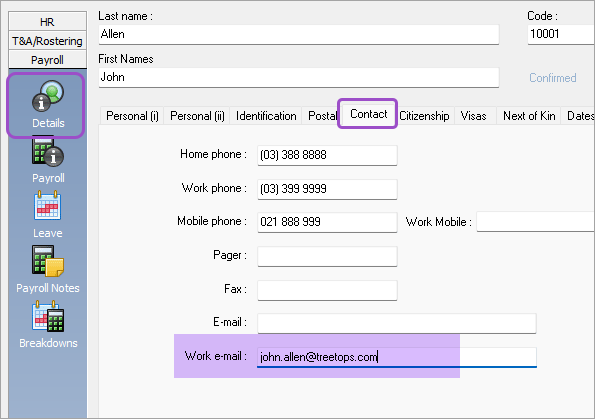
Open employee record.
-
Click Edit below.
-
Click Details > Contact tab and confirm an email address is setup.
-
Click Save and Close.
Set up payslip report to split by employee code.
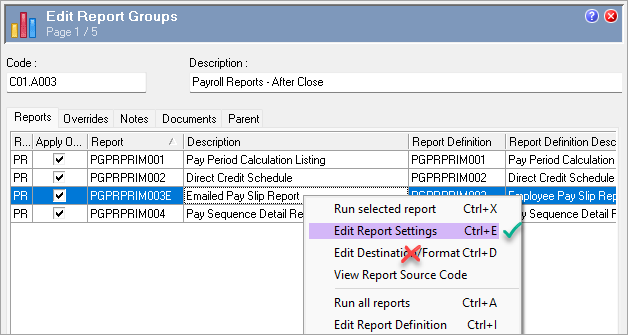
This section covers setting up the report using Edit Report settings.
-
Right-click on new report to Edit Report Settings.
Important: To send individual payslips to each employee, you need to setup the destination via Edit Report Settings (Report Splitting tab).
-
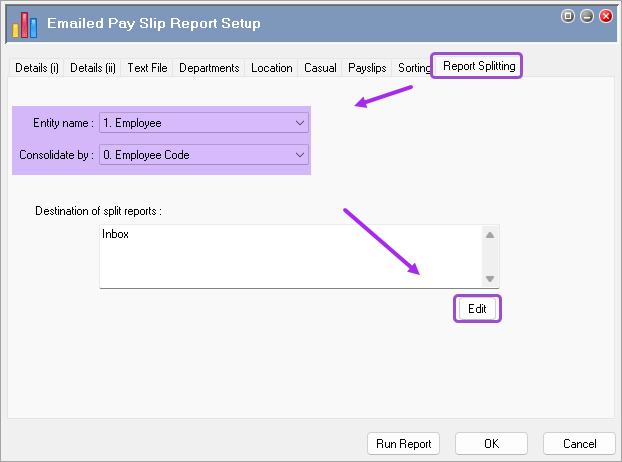
Click the Report Splitting tab.
-
For the Entity name, select 1. Employee.
-
For the Consolidate by option, select 0. Employee Code.
-
Click Edit.
-
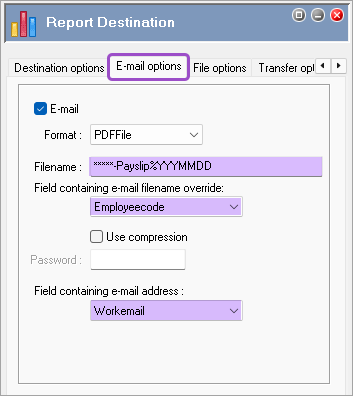
Select an option from the Format drop-down (e.g. PDFFile).
-
Type Filename as ******-Payslip%YYYMMDD
NOTE: Asterisks must be at the beginning of the filename!
The Filename field and Field containing filename override field specify the filenames of the split payslip reports. For example, if you use the following settings, then each split report has the employee’s EmployeeCode in the filename.
Filename= ****-Payslip
Field containing filename override= Employeecode
When you run the report, the wildcards (****) are replaced with the individual employee codes.
You can also type %YYYMMDD after the filename to include the date in the filename. For example, Filename= ****-Payslip%YYYMMDD.
-
Select EmployeeCode for Field containing e-mail filename override.
-
Ensure the Use Compression checkbox is NOT selected.
-
Select Email or Work-Email for Field containing e-mail address.
-
Click OK.