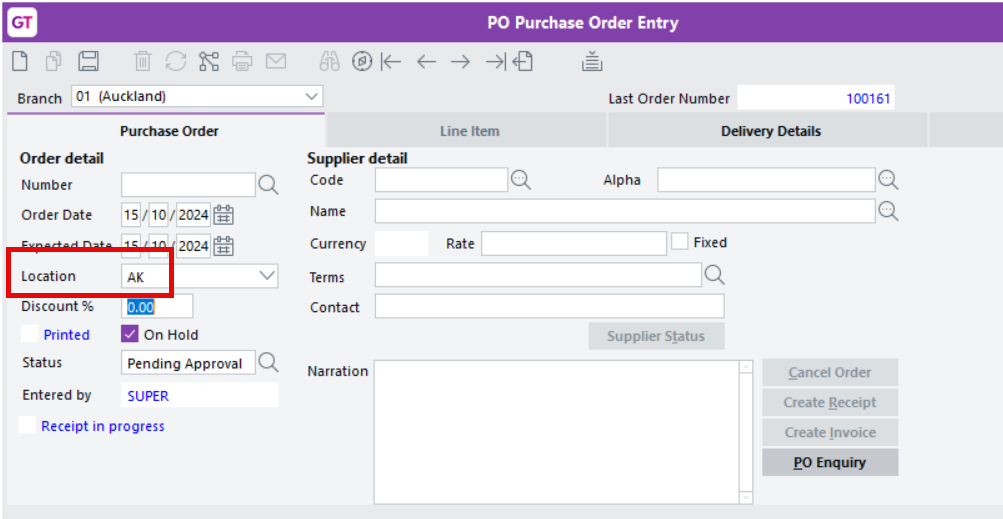
Selecting locations
Ever wondered why you can’t simply drop down to select a different Location in Greentree? It’s because locations can have multiple levels, so you need to select each level.
Once a level is selected, you can only see valid sub-levels. If the level you’ve selected is a valid location and doesn’t have sub-locations, then you don’t see anything when you click the drop down.
Start by selecting the top level. In the screenshot, AK is the top level. The plus icon tells you that there are sub-levels.

Then you can select a sub-level.

If you want to select a higher level, press the Esc key on your keyboard. Only the already selected portion will remain. You might want to do this on forms where you can select a warehouse, e.g. the Purchase Order Entry form.

If you want to change the location you’ve selected, you first need to press Delete on your keyboard to remove the text already in the Location field.


Changing stocking location levels
To change your stocking location levels, go to Process > Inventory > Change Location Levels. This creates the positive and negative adjustments to move the stock between locations.
For example, this is useful if you have one location that is both a warehouse and a stocking location, and you want to add multiple stocking locations within the warehouse.
