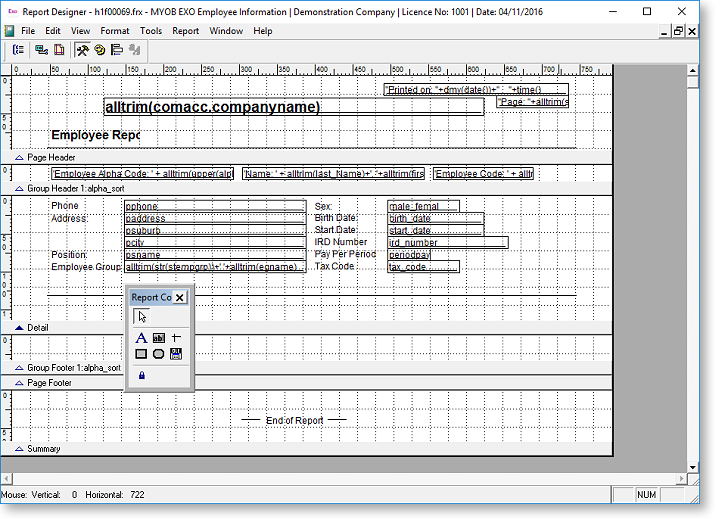
Clicking the Change Layout button on the Generate Report window opens the Report Designer.
Report Writer creates reports to a predefined, basic format. The Report Designer allows you to adjust the appearance of your result set, in the same manner as formatting characters in a word processor.
In addition to this you can add Expressions to certain objects on the report, to arrive at special calculations that cannot be obtained from any other step of the report creation cycle.
With the Layout Editor, you can make such common enhancements as:
Adjusting vertical spacing
Moving data items and text
Adjusting the appearance of data items and text
Adding lines and boxes
Adding custom calculations
Report Designer features and terminology
Bands – Bands define sections of the layout. Band types include: Title, Page Header, Column Header, Group Header, Detail, Group Footer, Page Footer, Summary. The name of the band is displayed in the band separator bar directly below it. A new layout has three bands: page header, detail and page footer. Additional bands appear if you include such features as groups, title page, etc. in the Report. Each band can contain text, data items, calculated fields, lines and rectangles.
Toolbox – This is a column of buttons at the left of the report layout window. These tools allow you to create report and label objects. Choose the desired tool and move the mouse pointer to the desired location in the layout.
Ruler – Shows where the cursor is currently positioned by displaying horizontal and vertical lines.
Text objects – Text is treated as an object which can be selected, edited, moved or deleted.
Data item (field) objects – Data item objects display the data from a table, from a calculated value, or from a User Defined Field.
Graphic objects – Lines, rectangles and pictures are available for use in reports and enhance the readability of a report.
The Report Designer provides menu options and control buttons to add, delete and manipulate these objects.
To adjust the height of a band
Drag the button at the left side of the band separator bar to adjust the height of the band. Or double click on the button to enter the precise height in the Band dialog (in inches or centimeters).
To adjust the height of an object
To make a specific object taller or shorter, first insure that the band is tall enough to accommodate the change.
Drag the object to where you want its top to be positioned
"Stretch" or "shrink" it by dragging the lower border of the object until it is the desired height.
The height is adjusted in whole line increments if Snap to Grid is set on or increased in direct proportion to the adjustment if Snap to Grid is not set on.
To adjust vertical spacing (space between lines)
To adjust the number of blank lines between detail lines, drag the Detail band to the desired height.
To adjust the spacing between groups, drag either the upper or lower Group band to the desired height.
NOTE: Vertical spacing adjustments are made in whole line increments if Snap to Grid is set on, or in direct proportion to the adjustment if Snap to Grid is not set on.
Moving objects
To move a single object
Simply click and drag the object to the desired location.
To move a group of objects
Point the mouse cursor above the desired objects, then holding down on the mouse button, mark a circle around the objects. A dotted line appears around them. When you release the mouse, the dotted line disappears, and the objects are selected.
OR
Hold down the Shift key as you choose each object you wish to include in the group.
Drag the group to the desired location.
A group created this way is temporary and is released as soon as you click outside the group. However, you can make a group permanent, so that its objects always move together until you explicitly "ungroup" them.
To make a group permanent
Choose Group from the Format menu. To ungroup a permanent group, select the group and then choose Ungroup from the menu.
Changing the appearance of an object
To format a data item or text object
Choose the data item or text object you want to format.
Choose either Font or Text Alignment from the Object menu, depending on the customization you are applying (other style or formatting options are shown in the diagram below as well). If you choose Font, the Font dialog opens:
To change an object's width
Click and drag on the bottom right hand corner of a data item to adjust its width. It's hard to see if an item's defined width is sufficient to accommodate the data. To assess this, move the cursor just below the item and type the characters, CW, (in the same font, style and size) repeatedly until you have typed an equivalent number of characters to accommodate the data. In this way, you will be able to gauge the fit and if necessary, stretch the item to the required width by dragging its rightmost border.
Adding objects
To add text
Choose the Text tool.
Click at the desired location, and type the text.
To add a line
NOTE: For double line, double click on the line to bring up the Box dialog. Select Double Line.
Choose the Line tool.
Position the cursor where you want the line to start, then drag to size the line.
To add a rectangle
Choose the Rectangle or Rounded Rectangle tool.
Position the cursor where you want the rectangle to start, then drag to size the rectangle.
If you are adding a rounded rectangle, double click on the rounded rectangle to open the Rounded Rectangle dialog. Use the options to set the corner style.
Creating custom totals and calculations
Report Writer automatically calculates most of the summary information you need. Use the following steps for those instances when you want to insert your own.
To add a custom total
Choose the numeric data item you want to total, then choose Copy from the Edit menu. Choose Paste from the Edit menu and drag the field to summary line.
Double click on the new data item. The Report Expression dialog box opens.
Choose Calculate...
From the Calculate dialog, choose Sum. Be sure that Reset is set to the band where the item is placed.