Cancelling or deleting a leave request
If you no longer want to take leave that you've requested, you can cancel either the whole request or individual days in the request – even if you've already started taking it. When you cancel a leave request, you can still see it on the Cancelled tab of the Leave Requests screen, but you can't make any changes to it.
If a leave request hasn't been approved or declined yet, you can choose to delete it instead of cancelling it. Unlike cancelled leave requests, deleted leave requests aren't shown on any of the screens in MYOB Advanced Payroll or Employee Self Service.
After you cancel or delete a leave request, all the dates of untaken leave in the request become available again for new leave requests.
To be able to cancel leave, the request has to have one of the following statuses: Declined, Open, Submitted, Approved Not Paid or Ready to Pay.
Cancelling a leave request
Go to the Leave Requests screen.
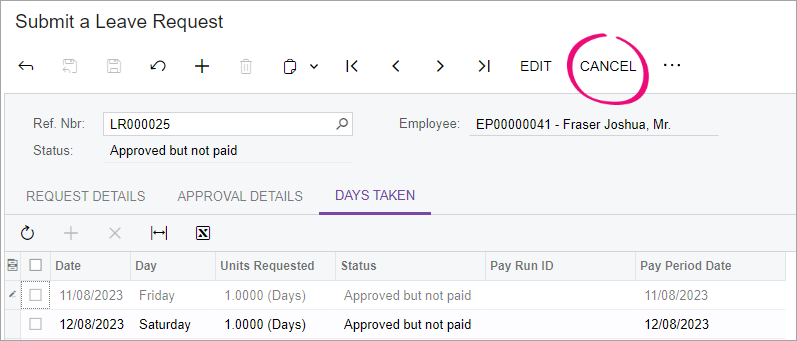
Open the leave request you want to cancel. The Submit a Leave Request screen opens.
On the form toolbar, click Cancel.
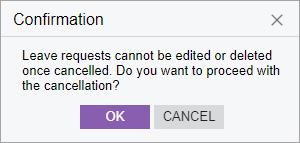
Read the Confirmation pop-up message. If still want to cancel the leave request, click OK.
If you cancelled the leave request, its status changes to Cancelled.
You can't delete or make any changes to a leave request with a status of Cancelled.
Cancelling individual days in a leave request
Go to the Leave Requests screen.
Click the leave request you want to cancel days for. The Submit a Leave Request screen opens.
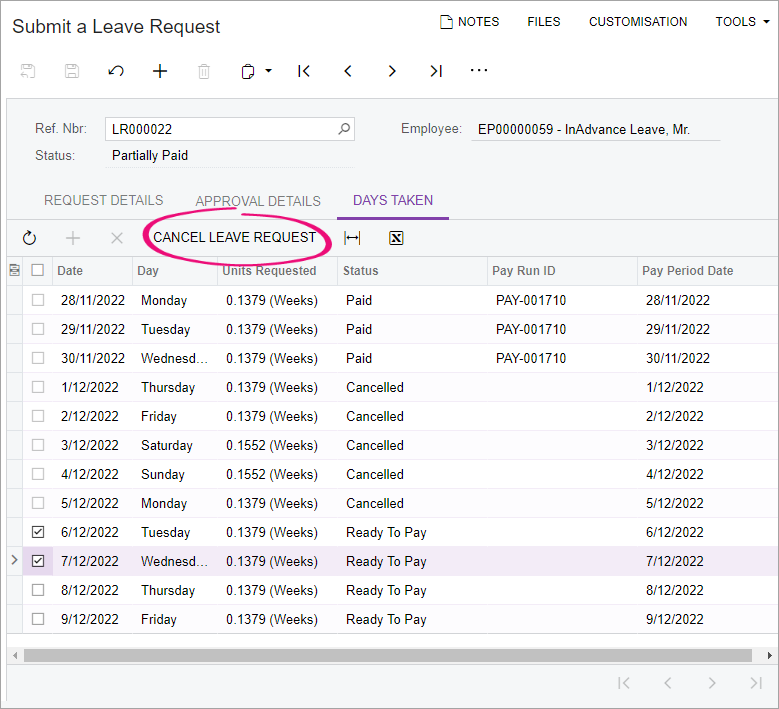
Click the Days Taken tab.
In the table, select the checkboxes for all the days of leave you want to cancel.
At the top of the table, click Cancel Leave Request.
On the main toolbar, click the Save icon.
Deleting a leave request
You can only delete a leave request that has a status of Open or Submitted.
Go to the Leave Requests screen.
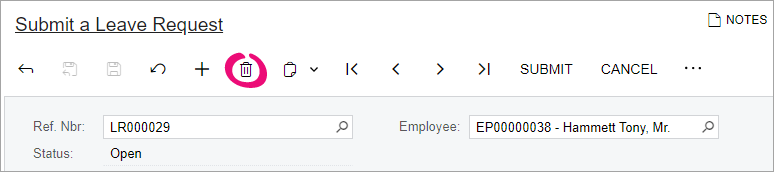
Open the leave request you want to delete. The Submit a Leave Request screen opens.
On the form toolbar, click the Delete icon.
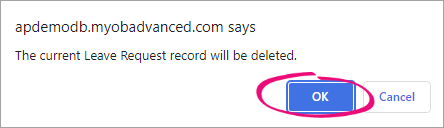
In the pop-up window, click OK.