Step Five - Update Current Timesheet
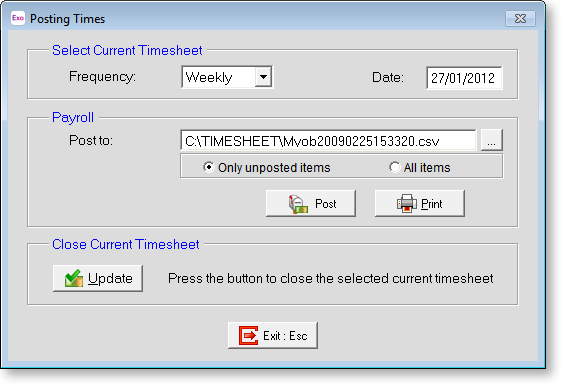
Click on Step Five of the Timesheet Cycle and the following screen appears:

Frequency Click on the Pay Frequency list to select a batch to post.
Date The pay period end date for this posting should be the same as the current pay, for the given pay frequency, at Head Office.
Post to Exo Timesheet will post the sum of waged hours and the contents of the Other Payments screen to a wage transaction file, which is subsequently imported by Exo Remote. This is the path and file name that the pay file will be posted to. Click the Choose […] button to select a folder.
Only unposted items The Timesheet will not post the same transaction to the pay file twice. This is achieved by flagging each transaction as posted when the pay file is created or appended to. This is the default behaviour of the Timesheet and is sufficient most of the time.
All items You may wish to start from scratch and reconstruct the entire Timesheet for this pay period again. What was posted will be disregarded, old transactions that you have since altered will be posted again, and new transactions will also be posted.
Post Click this button to post the Exo Timesheet transactions. The user at the Exo Remote end will import the pay file into the payroll's Current Pay.
If the timesheet is posted successfully, a confirmation message appears and the timesheet is marked as posted on the Posting Times window:

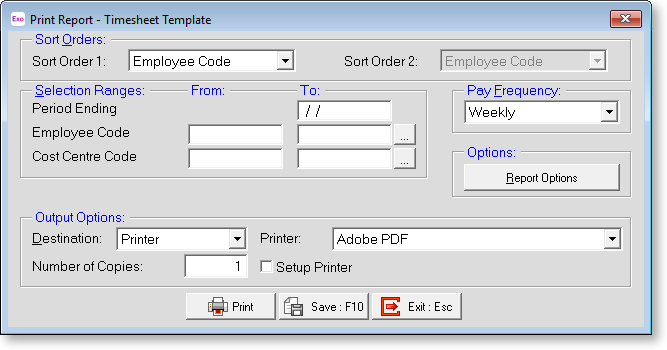
Print This will print a report, based on the selections that you have made earlier.
Close Current Timesheet
After posting the Current Timesheet, you will need to update the batch, i.e. close off the pay period, in preparation for a new set of dates. Dates belonging to Updated Timesheets will not be editable. Always ensure that when entering times into the Current Timesheet, you are working with the dates that span the current working calendar week(s). This is so that times for old dates can be reported historically in the Timesheet report.
Once the times have been posted and the Posting report has been printed, click the Update button to continue. A message requesting confirmation appears. Click Yes to proceed.
Your file will now be ready for importing at Exo Remote / EXO Time and Attendance.
