Payroll data can be migrated to MYOB Exo Payroll from the MYOB PowerPay and MYOB AccountRight Premier systems. Migration is a two-step process:
-
The data is exported from the source system
-
The data is imported into Exo Payroll using the Migration Wizard.
Exporting Data for Migration
MYOB PowerPay
Exo Payroll supports migration from MYOB PowerPay version 8.5 and later. To export data from PowerPay:
-
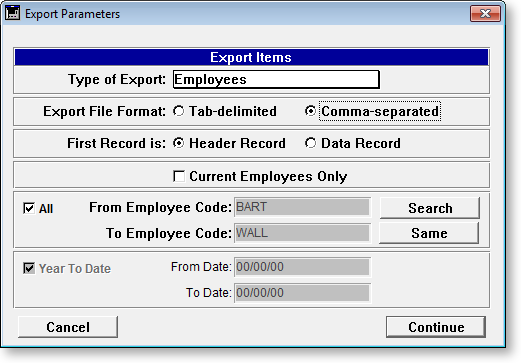
Select Export Data... from the File menu. This opens the Export Parameters window.
-
Select Employees for the Type of Export.
-
Select Comma-separated for the Export File Format.
-
Select Header Record for the First Record.
-
Use the fields on the bottom half of the window to specify which employees you want to export, then click Continue.
-
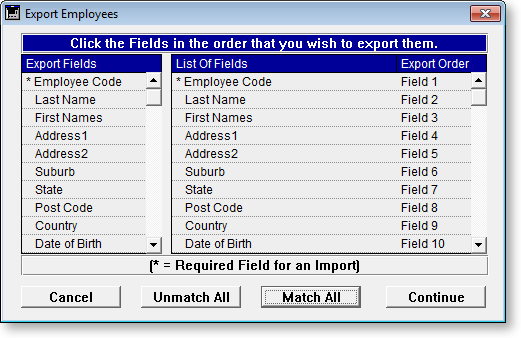
On the Export Employees window, click Match All. Click Continue.
-
Enter a name for the export file then click Save.
The export file is saved to the location you selected.
MYOB AccountRight Premier
Exo Payroll supports migration from MYOB AccountRight Premier versions 10 and later. To export data from AccountRight:
-
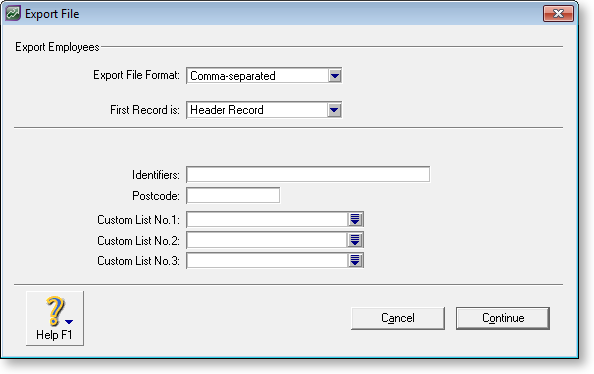
Select Export Data > Cards > Employee Cards from the File menu. This opens the Export File window.
-
Select Comma-separated for the Export File Format.
-
Select Header Record for the First Record.
-
Use the fields on the bottom half of the window to specify which employees you want to export (or leave them blank), then click Continue.
-
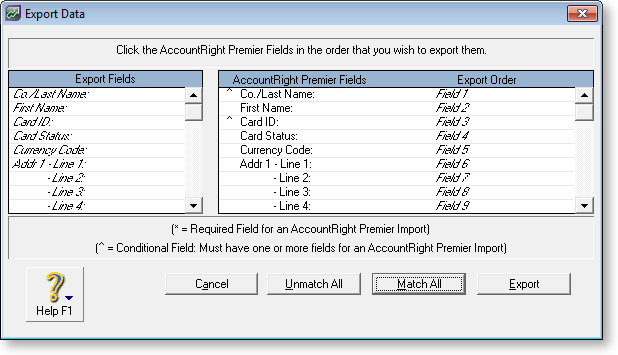
On the Export Data window, click Match All. Click Export.
-
Enter a name for the export file then click Save.
The export file is saved to the location you selected.
Importing Data into Exo Payroll
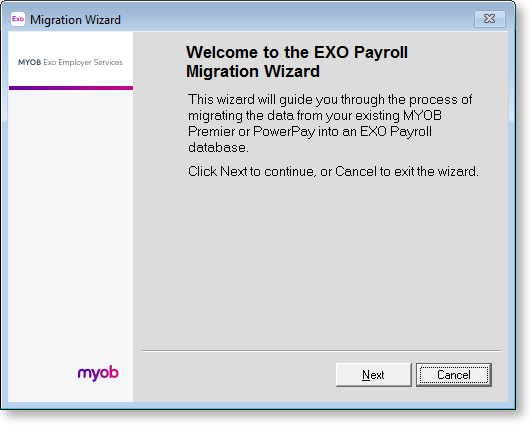
Open the Migration Wizard by selecting Migration Tool from the Help menu.
-
Click Next on the Welcome window.
-
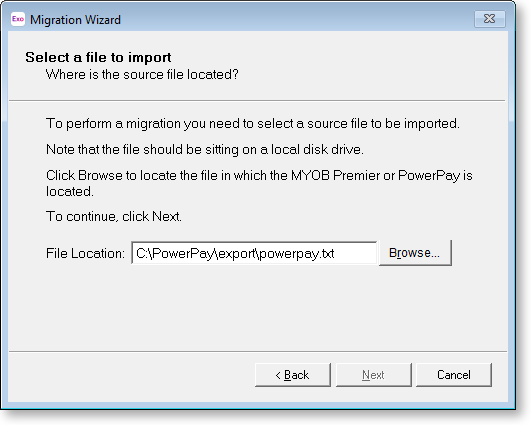
Click Browse to specify the location of the file you exported, then click Next.
-
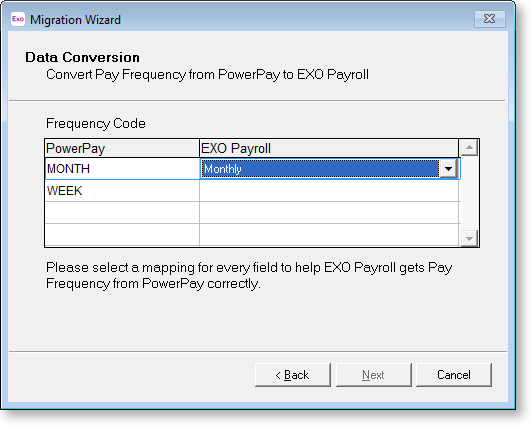
If you are migrating data from MYOB PowerPay, you must map the PowerPay Pay Frequencies in the export file to Exo Payroll Pay Frequencies. For each frequency Code listed, select a Pay Frequency (Weekly, Fortnightly, Bi-monthly, 4 weekly or Monthly). Click Next once all Pay Frequencies have been mapped.
-
At this point you must back up your company file before proceeding.
-
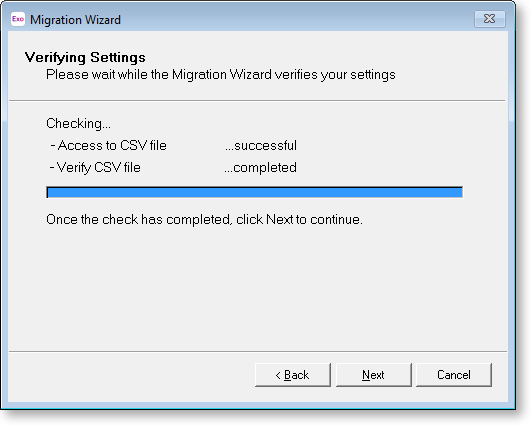
The Migration Tool checks that it can read the file successfully. If the checks all succeed, click Next to continue.
-
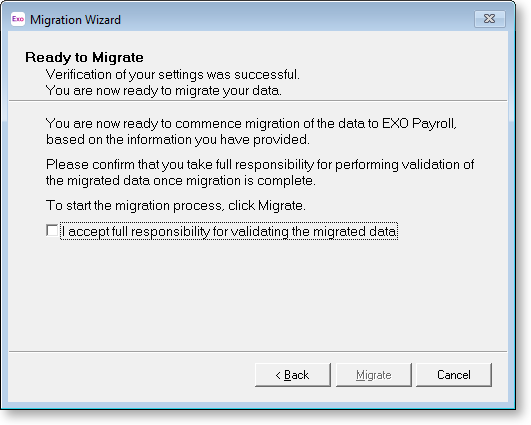
Tick the I accept full responsibility... box, then click Migrate to begin the migration operation.
-
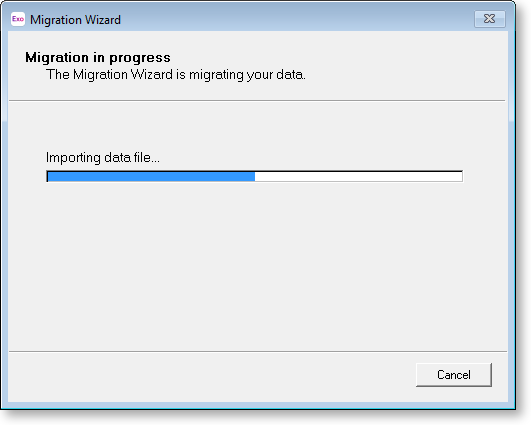
The progress of the migration is displayed.
-
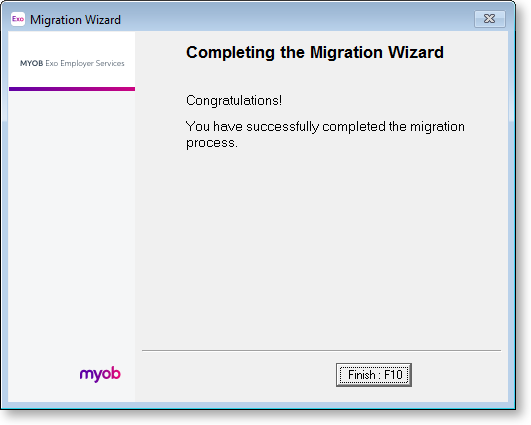
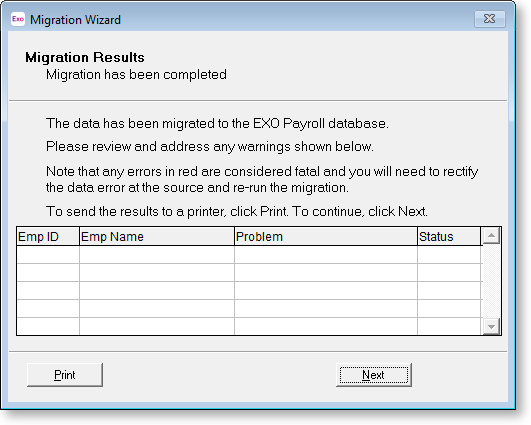
The results of the migration are displayed. Click Print to print a copy of the migration log. If any fatal errors were encountered, exit the Migration Tool and correct the problems that caused them. If the migration succeeded, click Next to continue.
-
The migration is now complete. Click Finish to exit the Migration Wizard and return to Exo Payroll.