The Leave Planner is a utility that allows you to plan and record your employees' leave to be taken.
Video Help is available for this topic on the Exo Employer Services Education Centre.
Select the Leave Planner from the Utilities menu to open it.
Setting up the Leave Planner
Click the Setup button at the bottom of the window to set up the Leave Planner for initial use. This opens the Maintenance window:
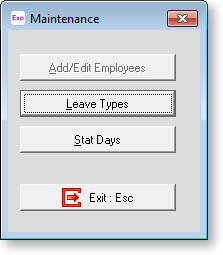
Leave Types Each leave type has a preset colour. You can change the colour for any leave type here. Selecting this option opens a new window:
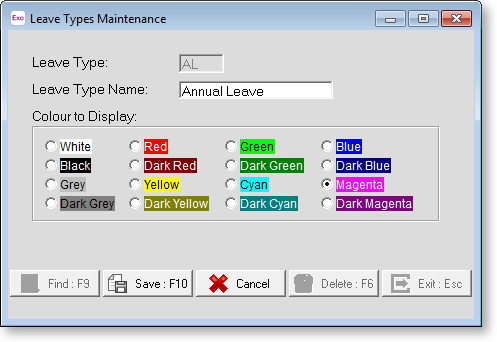
Click Find to search for a Leave Type. Select the colour you want to assign to the chosen Leave type. When you are done, click Save or press F10 to return to the Maintenance window.
Stat Days A statutory holiday can be assigned for any given day to all employees at once. You need to periodically update your statutory holidays masterfile for regional observances. Selecting this option opens a new window:
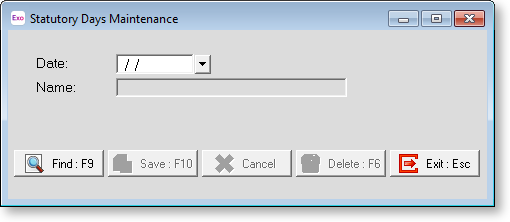
To add a new statutory holiday and date, enter the date, then a description of the day. Click Save or press F10 to save the new day.
To renew the date for a nationally recognised statutory day, press F9 for a list of statutory days already in the system. Enter a new date for the chosen statutory day, then click Save or press F10.
Once you are finished setting up the options, click the Exit button on the Maintenance window or press esc to return to the Leave Planner window.
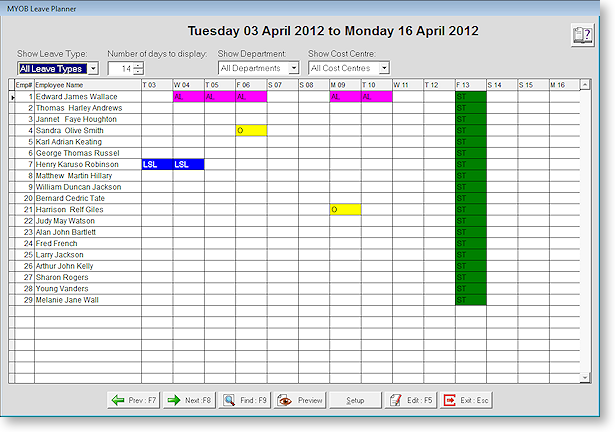
Using the Leave Planner
The Leave Planner makes it easier for pay clerks to judge their staffing levels and to plan in advance when employees may take annual leave, long service leave or statutory holidays.
The Leave Planner has two different views. Initially, you are presented with a grid showing the overall Company view. Selecting an employee takes you to the Employee view, which details a single employee's leave. You can perform all functions from either view.
Company View
A number of filters along the top of the window let you choose what to display.
Show Leave Type Choose from the list to see only annual leave, only long service, only lieu days etc.
Number of days to display Narrow or widen the calendar scope of the grid, up to 250 days.
Show Department Choose from the list to see the leave only for a certain department. Departments are drawn from Payroll data.
Show Cost Centre Choose from the list to see the leave only for a certain Cost Centre. Cost Centres are drawn from Payroll data.
To assign a leave type, click on the cell that corresponds to the employee and day you want to assign leave to. Select a leave type from the list box that appears.
Employee View
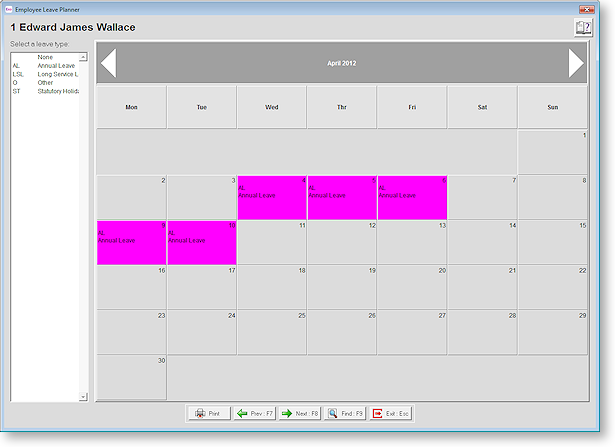
Click the white arrows on either side of the bar at the top of the window to navigate between months.
To assign leave for a day, select one of the leave types from the left of the window, then click on the appropriate date for the employee. The button will take on a new colour and description. To remove leave for a day, select "None" on the left, then click on a day that has leave assigned.
Print Lets you print out a Leave Schedule for the current employee.
Printing the Leave Schedule Report
Selecting Preview from the Company view lets you print or preview the Leave Schedule report for the whole company.
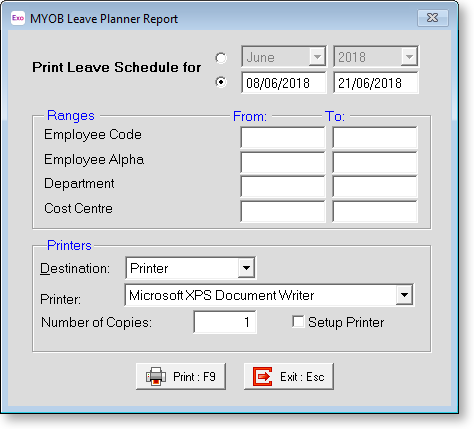
Print Leave Schedule for You can select an entire calendar month and year to print for, or alternatively you can specify an exact date range to report on.
Ranges You can enter From and To values for a range of payroll-related codes. This will narrow down your result set by filtering out any codes that do not fall within the range(s) you specify. Leave the ranges blank to report on all employees, departments, etc.
Destination Select a destination for the generated report. Choose from:
-
Printer - This will sent the report directly to the specified printer. For several copies of the same report, adjust the Number of Copies field. Selecting the Setup Printer option will bring up the Windows Printer dialog when sending the print job.
-
Screen - This will generate a print preview to the window, showing you what the final report will look like when printed.
-
Excel - This will generate the report to a Microsoft Excel. You will need to specify a file name for the Excel spreadsheet in the File Name field.