The Documents screen lets you send documents to to employees. You can also request electronic signatures, useful for contracts and other legal documents.
You can send two types of documents:
-
Uploaded document files, such as pdf or Word documents.
-
Documents generated from document templates, using the HTML editor. These documents can include personalised employee and company information using merge tags.
Documents that have been sent to an employee will appear on their Documents screen, and in their feed on the web and mobile apps.
Upload a document file
You can upload documents in a range of common file types, including pdf and Word. Not all file types are supported.
-
Go to Management > Documents.
-
Click Upload File.
-
Select a file by dragging and dropping it, or clicking Browse files.
The new file appears under the Your files heading. If you can’t see the file immediately, browse the folders on the left to find it. You can now send the file.
Send an uploaded document file
-
Go to Management > Documents.
-
Browse the folders under the Documents heading and select the file you want to send.
-
Click Send.
-
Select who to send the document to.
You can send uploaded documents to individuals, or to all employees with a location or role.
-
If the document needs to be signed, select Request Signed Acknowlegement.
-
Click Send.
Send a document from a template
Document templates are HTML documents created and sent inside Advanced Workforce Management. They are automatically personalised to the employee you send them to with employee, company and pay information.
-
Go to Management > Documents > Document templates.
-
Find the template you need and click Send.

-
Enter a Name, and select the Recipients.
You can send uploaded documents to individuals, or to all employees with a particular location or role.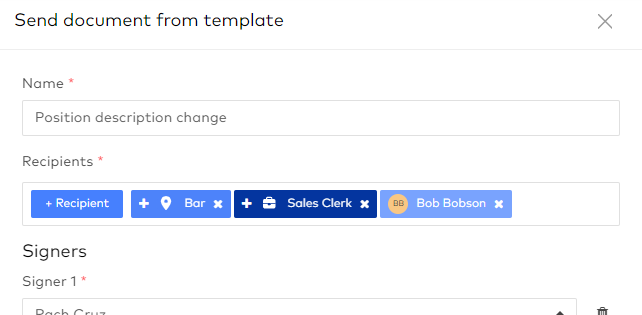
-
Select the people who need to sign the document (the signers). The recipient is selected as a signer by default.
-
Click Add signer if you need more than one person to sign the document (for example the employee’s manager).
-
Click Remove if the document doesn’t need to be signed at all.

-
-
Click Create draft if you want to review the document before sending it. The editor window opens.
-
Make any changes to the document you need to. They will only apply this time the document is sent, not saved to the template.
-
Click Help to see pop-up information on the editing tools available.
-
-
Click Send when you are done.