As a manager, you can convert someone’s scheduled shift to leave from the Roster screen. You can do this in either the Day or Week view.
-
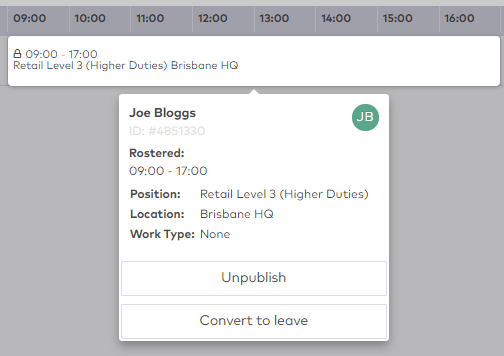
To convert someone’s scheduled shift to leave, click on the shift. The shift module is displayed.
-
Click Convert to leave. The Convert to leave window is displayed.
-
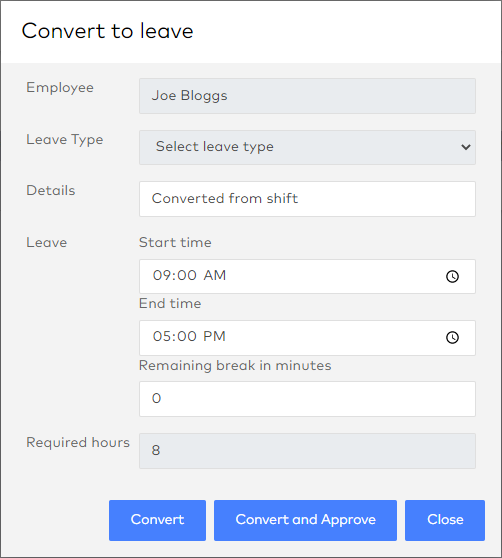
Select a Leave Type, Start time and End time. Once you have selected the start and end time, you can choose one of three actions:
-
Convert - Converts the timesheet for the shift in the Manage Time section and creates a pending leave request for the leave part of the shift, which needs to be approved in the Manage Leave section before a timesheet is created for it.
-
Convert and Approve - Creates a timesheet in the Manage Time section and creates and approves the leave request, so that a leave timesheet is also created in Manage Time for this shift.
-
Close - Choose this option if you have changed your mind and do not want to convert this shift.
-
What happens once you convert the shift to leave?
Upon converting the shift to leave, it will not be deleted or disappear in the roster; instead the shift will remain (as a record to keep track that it was converted to leave) but will be marked as Shift overlaps with Leave as an alert that the leave was successfully created.
You can delete the shift if necessary, so as to have no unassociated timesheet for that employee.
If you choose not to delete the shift, it will be displayed as an unassociated shift on the Time screen, because the shift was not completed/no clock logs an indication that the employee did not go to work on that day.