Overview
The MYOB Acumatica Customer Portal provides a simple interactive B2B communication and e-commerce service that allows MYOB Acumatica clients to work and communicate with their end-customers more efficiently.
Using Customer Portal, your customers can access their account information, create and track online orders and create and manage support cases – all without picking up the phone or sending an email. All of these services are available 24 hours a day, 7 days a week.
End-customers given access to the portal can complete the following actions:
Provisioning the customer portal
MYOB Acumatica business partners can request a portal to be provisioned for their clients by logging a service request with MYOB with the following details:
|
Detail |
Value |
|---|---|
|
Summary |
MYOB Acumatica Business Customer Portal Required |
|
Description |
Provide the client's existing service URL |
|
SR Type |
Feature Request |
|
Product |
Customer Portal |
|
Area |
Regular Business |
|
Sub-area |
Portal |
Once received, MYOB will provision the customer portal and notify the partner once this available for configuration and use.
The URL of the customer portal will be https://clientsite-portal.myobacumatica.com
Configuring the customer portal
Basic configuration of the customer portal is completed by carrying out the below steps in both the ERP site (ERP) and the portal site (Portal).
Full configuration documentation for the Customer Portal is available in the user guide of MYOB Acumatica.
-
Login in to the main ERP site and navigate to the Enable / Disable Features page (CS10.00.00) and choose which features you want active in the customer portal.

-
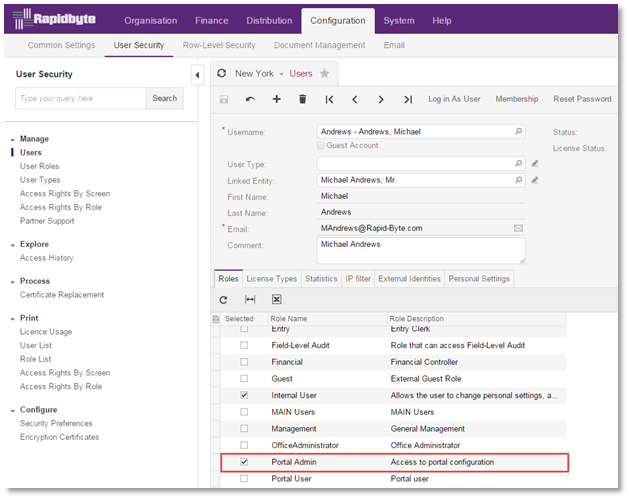
Determine which ERP users will have administrative access to the customer portal.
Users with portal admin access can access the configuration settings of the customer portal and created / edit / delete the wiki articles displayed.
Navigate to the Users page (SM.20.10.10) and ensure the relevant users have either the “Portal Admin” or “Administrator” user role assigned.
-
Log in to the customer portal as a portal administrator to complete initial configuration of the portal.
-
Navigate to the Portal Preferences form (SP.80.00.00) in the Configuration menu.
-
Select the branch of the ERP site that portal users will have access to.
-
Enter the hex code of the colour to be used as primary colour of the customer portal.

You can also see the URL of the portal here and in Wiki management page (SM.20.05.05) of the ERP site for future reference. This URL is used in automated emails to customers such as welcome emails and password recovery emails.
-
-
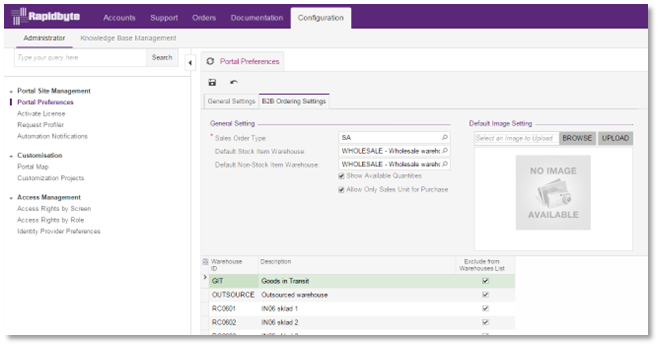
If you have enabled the B2B Ordering feature, an additional tab is available to configure the default ordering behaviours of the portal.
-
Sales order type: You can select the type of the sales order to be generated when the customer makes an order.
-
Warehouses: You can select which warehouses will be available for the portal users, what warehouse is used for ordering stock items by default, and what warehouse is used for ordering non-stock items by default. When they are making an order, your customers will be able to leave the default warehouse or select a warehouse from the list of available warehouses.
-
Whether the quantity of items in stock should be visible for your customers.
-
If you want to place orders only in the UOM specified for sales, select the Allow Only Sales Unit for Purchases check box.
-
You have the ability to add the image that will appear if a particular item in the catalogue doesn’t have an image.
-
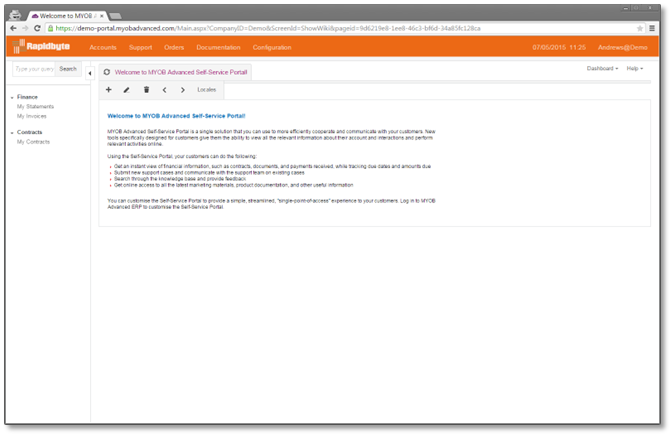
Customising the welcome page
The welcome page is a pre-defined wiki article called web_site (SP_00_00_00). This article can be edited by portal administrators using the standard wiki edit controls.
You can replace the welcome page with another wiki article of your choice by changing the portal home page in the Portal preferences page (SP.80.00.00), but if the selected article becomes unavailable for any reason, the system will revert to the default wiki article
-
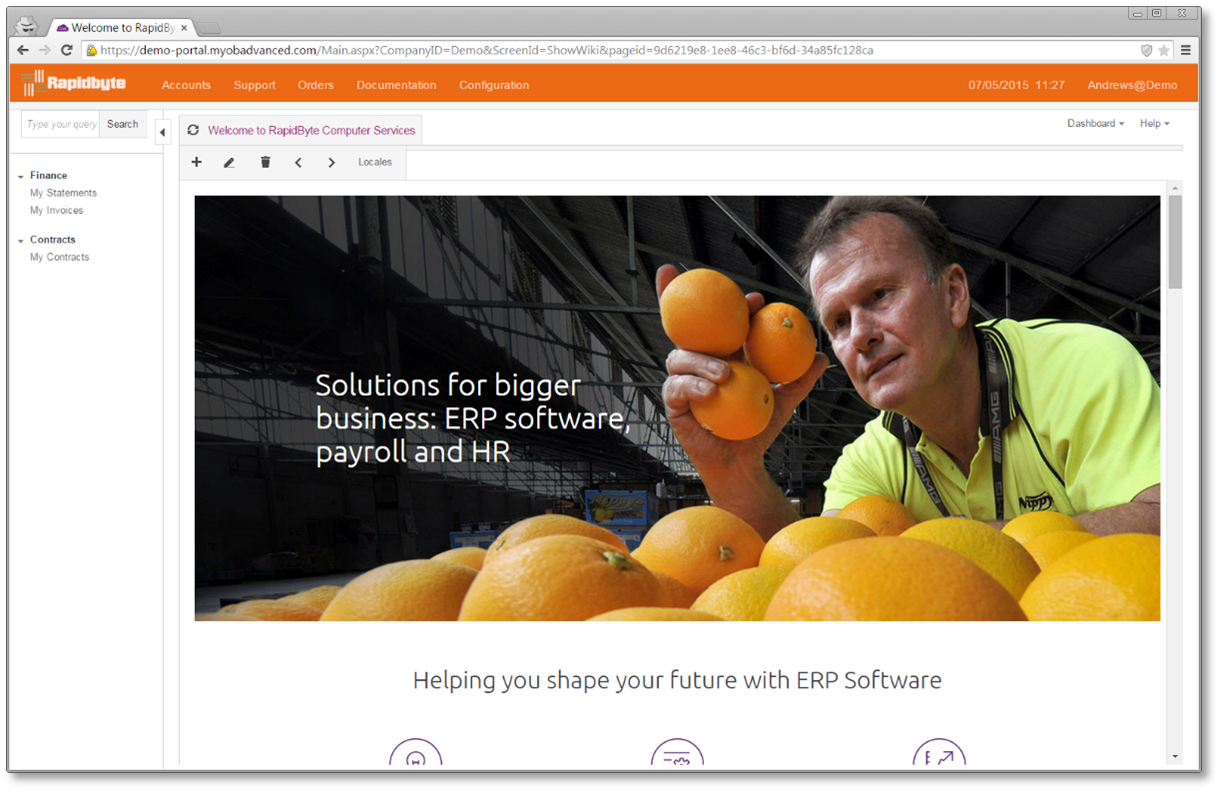
Use the pencil icon to edit the contents of the wiki article.
-
Replace the content with your own personalised content in Wiki or HTML format and save.
Maintaining the item catalogue
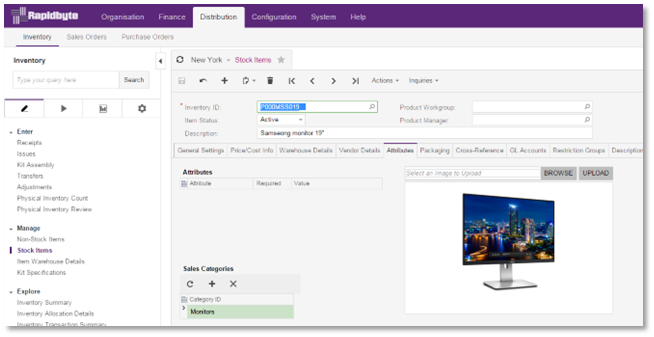
You maintain the item catalogue that is available for purchase on the Customer Portal directly from the ERP site using the standard functionality of the inventory module. By assigning an item sales category to an inventory item, you both categorise the item and include the item in the online catalogue.
Managing the online catalogue includes completing the following tasks for each inventory item, which you perform by using within the ERP site:
-
Configuring inventory items before you present the items in the online catalogue, including adding extended descriptions for the items and uploading item images (IN.20.25.00)

-
Forming the multi-layered catalogue structure by adding, deleting, and organising sales categories (IN.20.40.60)
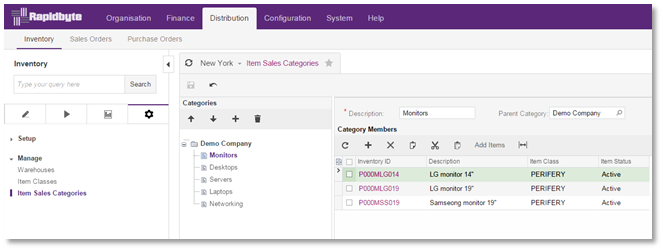
-
Assigning sales categories to inventory items, thus adding the inventory items to the catalogue (IN.20.40.60) or (IN.20.25.00)
Setting up customers with access to the customer portal
Once the customer portal is configured and ready for use you can begin setting your customer contacts up with a user account for login.
Complete these steps to create a user account for a contact:
-
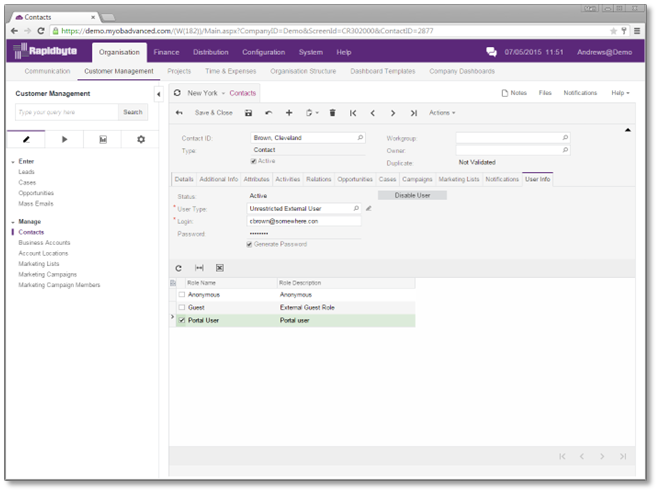
Open the Contacts page (CR.30.20.00) and select the desired contact.
-
Navigate to the User Info tab to create a user account.
-
Select a user type, the default “Unrestricted External User” already exists.
-
Specify a login name, this will default to the contacts email address.
-
Allow the system to self-generate a password, or create a unique password.
-
Specify the level of access the user has in the portal.
-
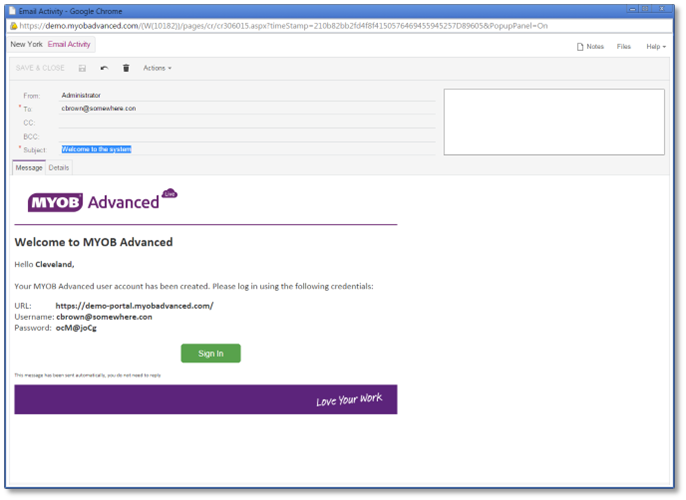
On save an email is automatically queued for sending to the contact advising of their username, password and login URL.
This email can be personalised by editing the “User Welcome Notification” notification template in page SM.20.40.03
-
A copy of the email sent is recorded as an activity against the contacts user record in SM.20.10.10.
This process creates a new user account in the ERP system linked to the contact. This user account is an external user account and cannot be used to login to the ERP site. The user account can also be created from the Users page (SM.20.10.10).
Adding wiki pages to the customer portal
Management of the customer portal wiki can be completed by a portal administrator from within the customer portal.
A portal administrator can complete the following basic tasks:
-
Add new site map nodes, sub-sections and wiki pages to different areas of the portal
-
Edit existing wiki pages
-
Remove wiki pages
Management of the wiki and portal site map is done via the various configuration screens within the customer portal.
Adding a wiki to the documentation section of the portal
-
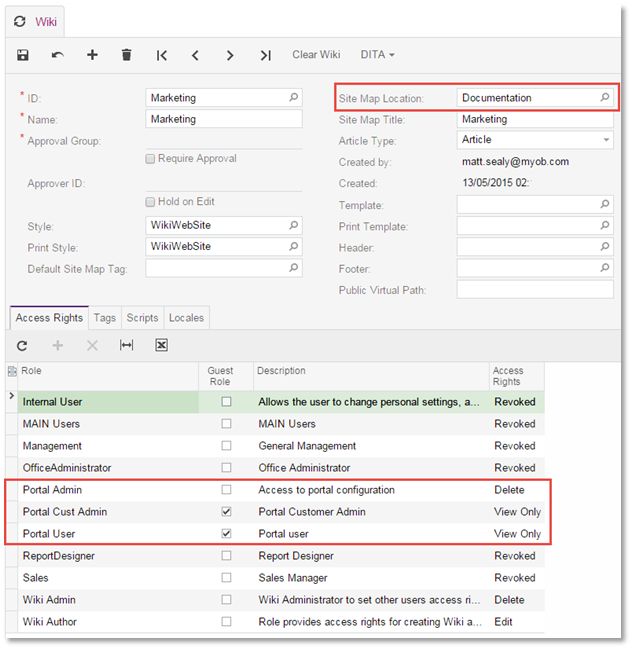
Open the Wiki management page (SM.20.20.05) and create a new wiki to hold all the relevant articles.
-
Select the appropriate site map location.
By default, the portal users and portal admin roles have their access revoked for new wikis. This should be changed to ensure portal admins can create the content and portal users can see the content.
Adding additional companies to the customer portal
The customer portal, once deployed, is available for all company files that exist at the time of deployment.
At the time of release, it is not possible to add to or remove a company from this list via a setup screen in the product, however, if a customer does want to add additional companies, or remove any existing companies from the list of available companies in the portal they should log an Archie request to alter the provisioned state of the portal, providing a list of company ID’s to add or remove.
Configuration of this list by the business partner or customer will be available in a future release.